Contents |
What
Cloud deployment is how you take a project in Aptana Studio to a live application on the Aptana Cloud.
When
- You're ready to deploy your project to the cloud
How
To deploy a project on the Aptana Cloud, select Aptana -> My Aptana. On the My Aptana screen, click the "My Cloud" tab. Your local
projects will be listed. Projects associated with an Aptana Cloud site
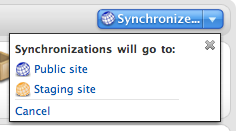
will have a "synchronize" button next to them. If not, a "deploy
to cloud" button will be shown.
Deployment
This page will walk you through the deploy to cloud wizard screen by screen.
Try Cloud Wizard
Step 1: Site Name
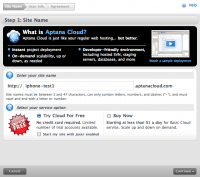
Your Aptana Cloud site will have a unique IP address so you can associate it with a custom domain name like example.com instead of example.aptanacloud.com.
You may also choose whether to enable Aptana Jaxer for the site, though you can also disable or enable it later through the Cloud management application.
When you've entered the name, click the "continue" button.
Step 2: User Info
- Use an existing Aptana ID account
- Create a new Aptana ID account
An Aptana ID is the username and password used to secure your Aptana Cloud sites. You can manage your Aptana ID at the Aptana.com web site.
When you've logged in or created an Aptana ID, click the "continue" button.
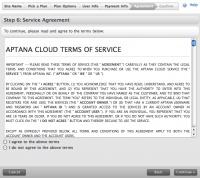
Step 3: Agreement

To finish, click the Deploy My Site button at the bottom right of the wizard.
Buy Now Wizard
Step 1: Site Name
Your Aptana Cloud site will have a unique IP address so you can associate it with a custom domain name like example.com instead of example.aptanacloud.com.
You may also choose whether to enable Aptana Jaxer for the site, though you can also disable or enable it later through the Cloud management application.
When you've entered the name, click the "continue" button.
Step 2: Pick A Plan
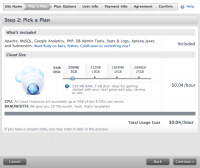
Choices are:
- 256 MB ram with 5 GB disk space
- 512 MB ram with 10 GB disk space
- 1024 MB ram with 15 GB disk space
- 2048 MB ram with 25 GB disk space
The size of your plan will affect the average daily cost. Adjusting the slider will show you the daily average cost.
When you are happy with your service selections, click the "continue" button.
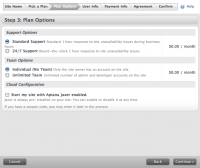
Step 3: Plan Options
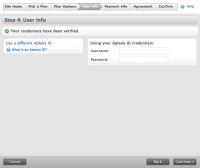
Step 4: User Info
- The account you are currently logged in with. When choosing this option, you will be prompted for the existing user's password again, for security.
- A different existing Aptana ID account
- Create a new Aptana ID account
An Aptana ID is the username and password used to secure your Aptana Cloud sites. You can manage your Aptana ID at the Aptana.com web site.
When you've logged in or created an Aptana ID, click the "continue" button.
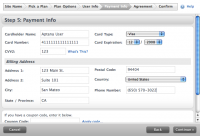
Step 5: Payment Info
Step 6: Agreement
Step 7: Confirm
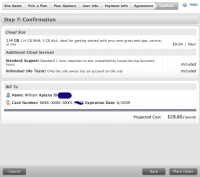
- Project Info
- Your Info
- Billing Info
- Total Monthly Cost
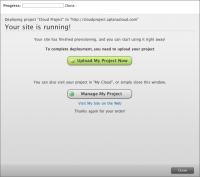
After Placing Your Order
Provisioning Progress Screen
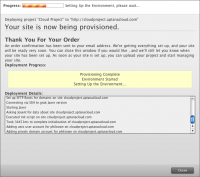
- Verifying your Order Information
- Provisioning Your Site
- Starting-Up the Aptana Cloud Environment
Your site is running!