Contents |
What
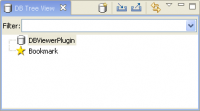
Use the DB Tree View to explore your databases in the Database Explorer
plug-in. (If you have not already switched to the Database perspective,
you can do so by clicking the Database button ![]() in the upper right corner of your workbench.)
in the upper right corner of your workbench.)
How
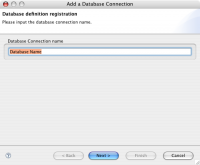
Adding a database
To add a database to your view:
Step 1
Step 2
Step 3
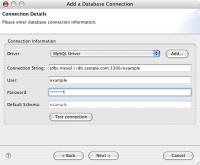
Enter the connection details including host, username, password, and database
name. You can click the test connection button. If the connection is successful a message will appear in the top
of the window. If there is an error, an error message will show details
of the error. When you are ready, click the next button.
Step 4
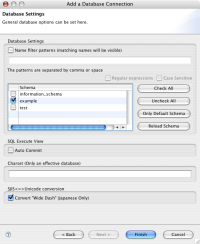
If you would like your queries to auto-commit, check the "SQL Auto Commit" box.
When you are ready, click finish. You should now have a connection to your database and should be able
to browse your database from the DB Tree View.
Displaying the DB Tree View