
This page describes how to configure your RadRails setup to correctly use your installations of Ruby and Rails.
Introduction
Before you can start creating projects in RadRails, you need to set up your configuration to let RadRails know where Ruby, Rails, Mongrel, RDoc, and RI are installed.
Most of these options will automatically be detected, and users should only need to set these up to override RadRails when it has issues detecting and configuring your ruby and rails installations
Instructions
- From the Windows menu, select Preferences... to open a Preferences window.
- Configure your Ruby interpreter:
- From the tree on the left side of the Preferences window, expand Ruby and select Installed Interpreters.
- Click the Add button to open an Add RubyVM window.
- In the RubyVM field, type a name for your RubyVM (e.g. Ruby 1.8.6).
- Next to the RubyVM home directory field, click the Browse button and browse to the top-level folder where you have Ruby installed.
This will be the directory above the bin and lib directories. See example below.
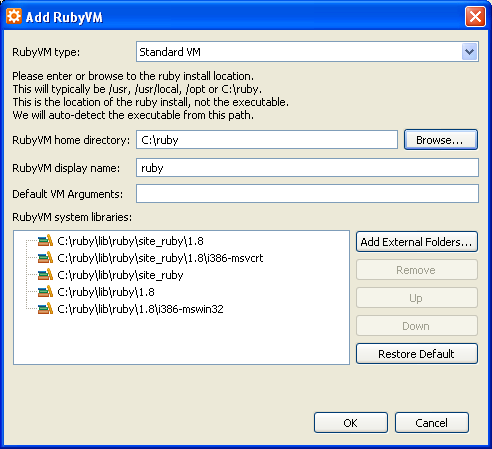
- Click OK.
- On the Installed Interpreters window, check the box next to the RubyVM that you just added.
- Click OK to finish configuring your interpreter.
- Test your configuration.
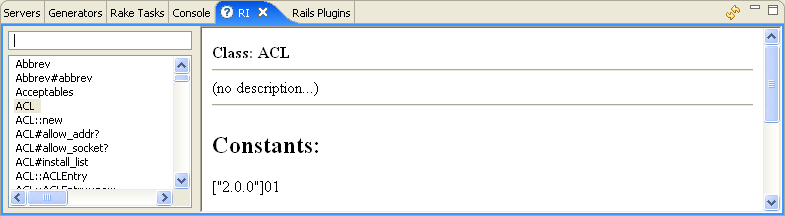
- In the lower portion of your workbench, click the RI tab. You should see
something similar to the image below if everything is configured correctly.
If you do not see the RI view, you can open it from the Windows menu, select Show View and select Ruby Interactive
- In the lower portion of your workbench, click the RI tab. You should see
something similar to the image below if everything is configured correctly.
If you do not see the RI view, you can open it from the Windows menu, select Show View and select Ruby Interactive
Once you have everything configured, you are now ready to create your first Rails project. See Starting a new RadRails project for instructions.