Overview
This guide explains how to install the Java Development Tools (JDT) into Studio.
When updating or adding Eclipse plugins or software, the software repository varies with the version of Studio:
|
Appcelerator/Titanium Studio Version
|
Eclipse Repository Name
|
Eclipse Version
|
|---|---|---|
| 2.1.x | Helios | 3.6 |
| 3.0.x - 3.1.3 | Indigo | 3.7 |
| 3.1.4 - 3.4.x | Kepler | 4.3 |
| 4.0.0 - latest | Luna | 4.4 |
Please ask your Confluence administrator to update the license for the MultiExcerpt Plugin for Confluence 4+ .
Admin Info: The error is: license VERSION_MISMATCH
Install the Eclipse Java Development Tools plugin
First we enable the default software repository and find and install the JDK toolkit.
Enable the Proper Software Repository
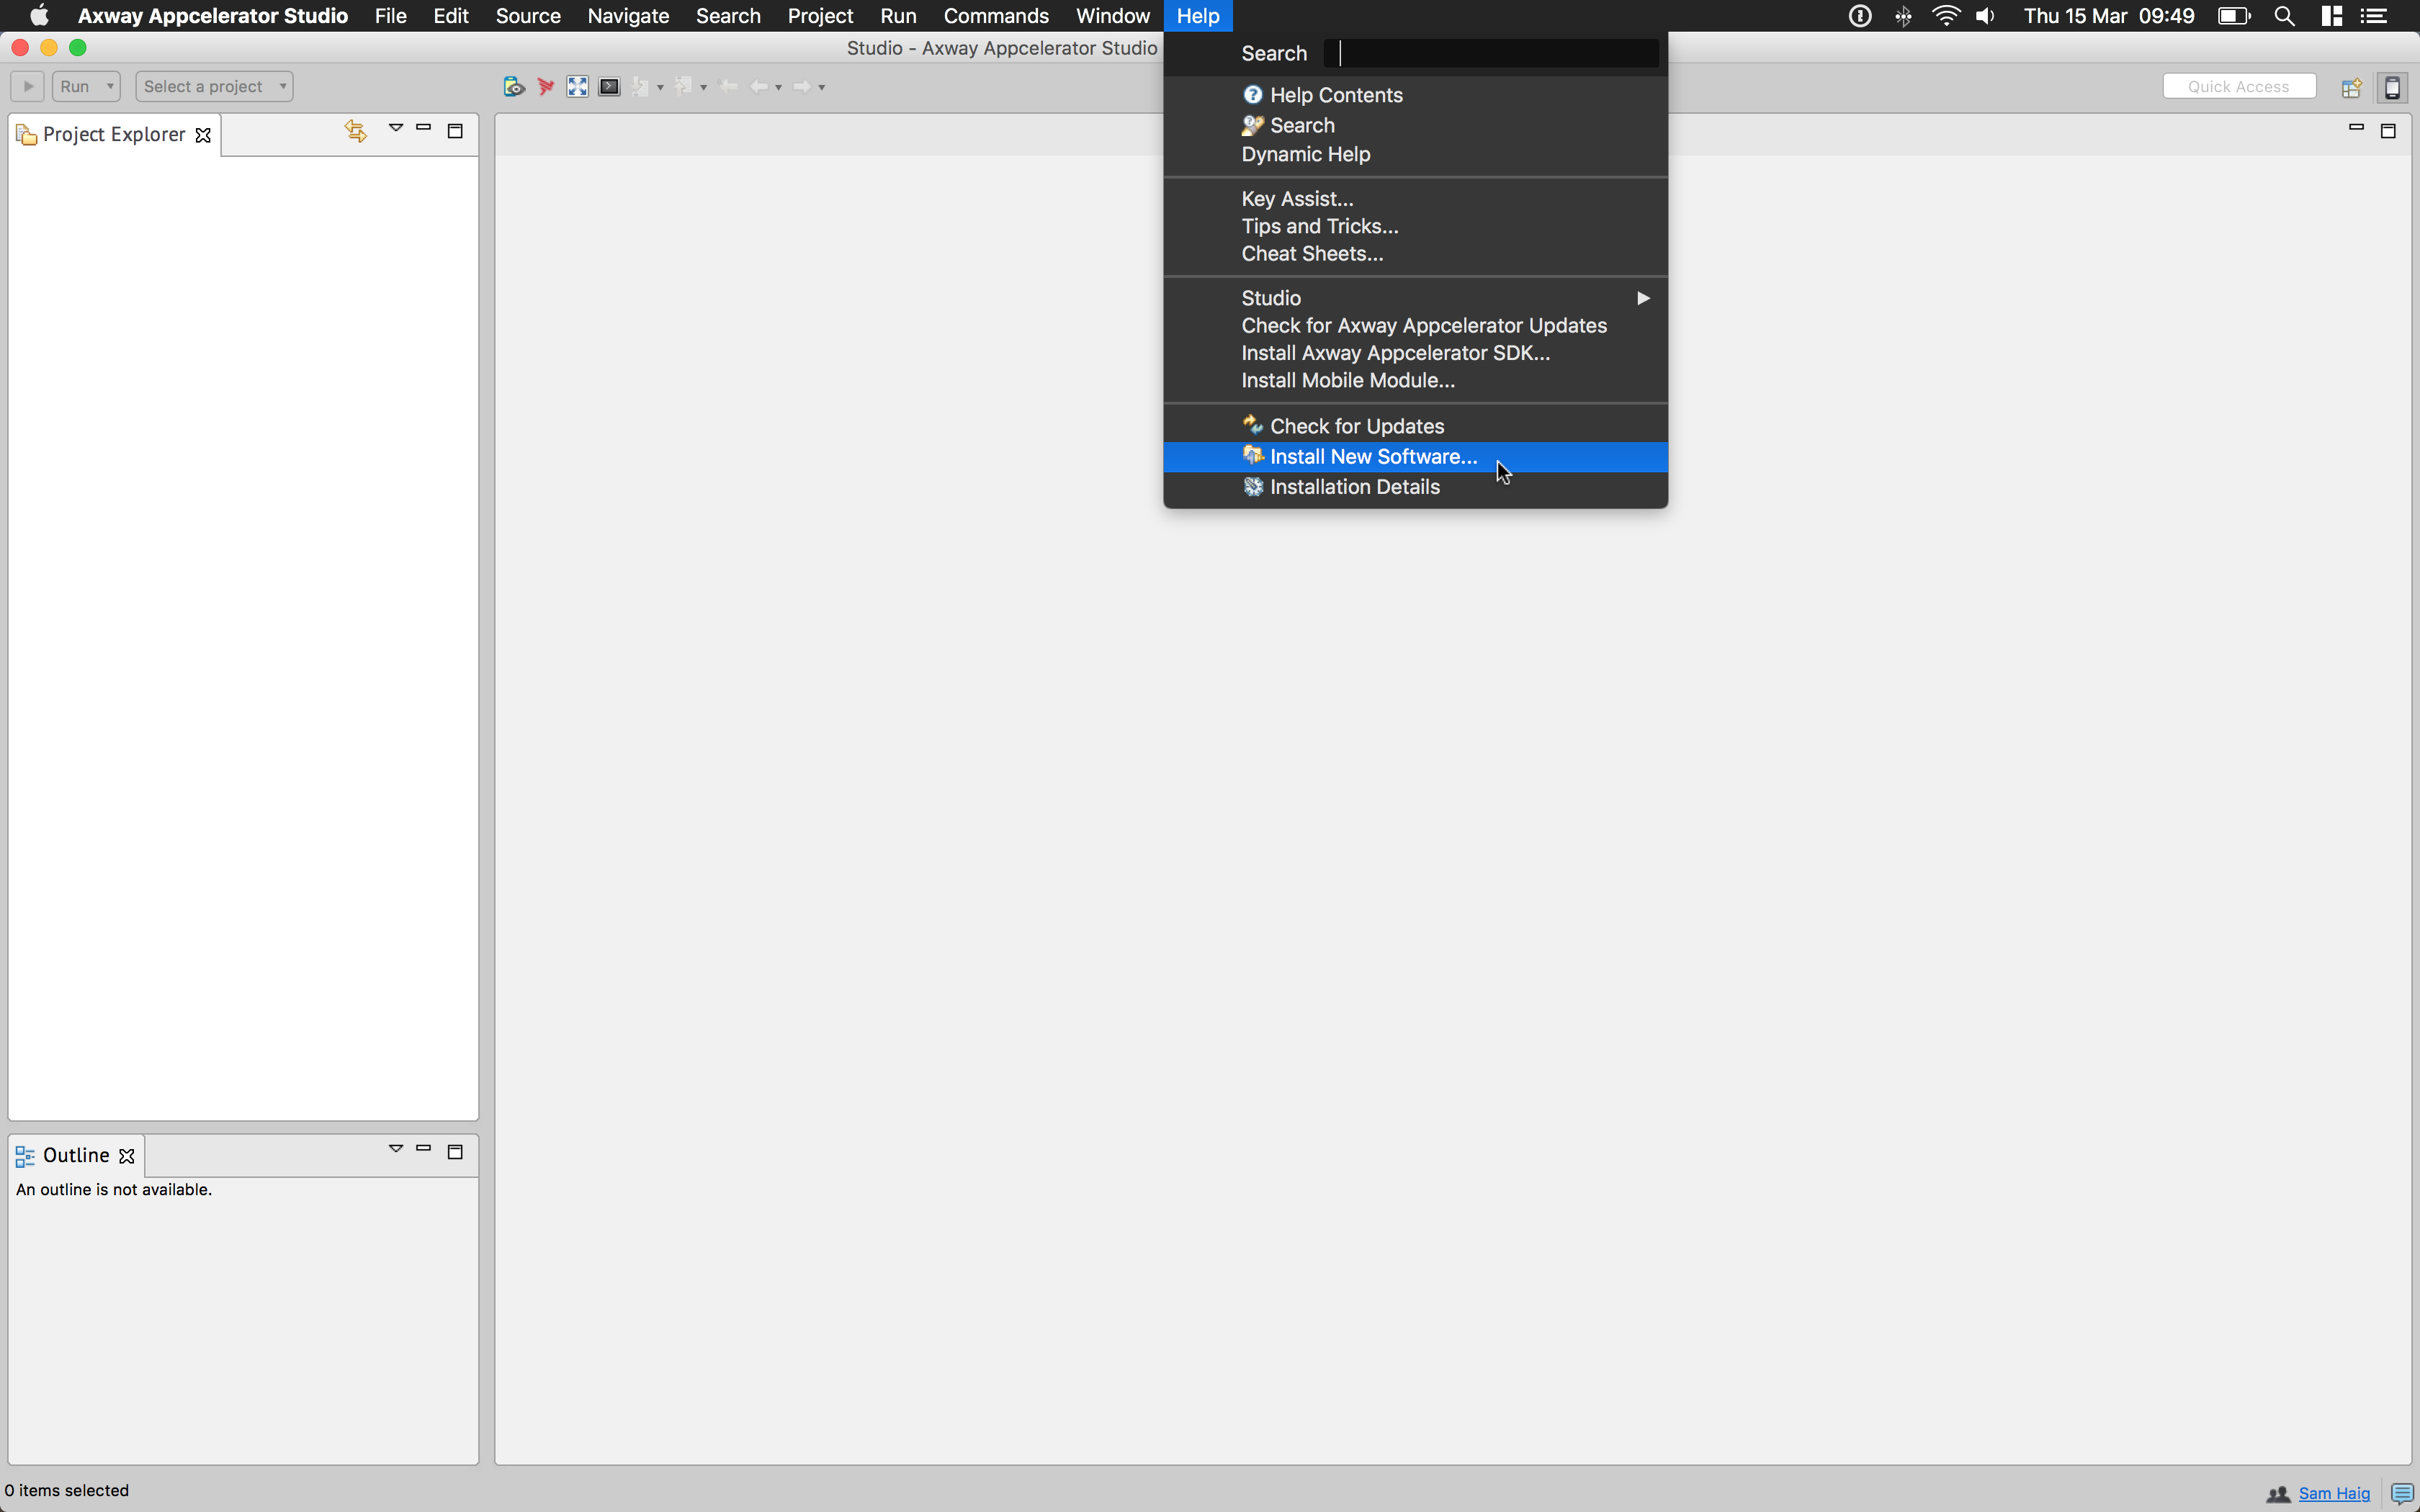
- From the menu bar, select the Help > Install New Software...
- Under the top Work with drop-down menu, click the link in the phrase, Find more software by working with the Available Software Sites preferences.

- Enable the Eclipse <Code_Name> Update Site. This name varies with the version of Studio you are using. See the table
at the top of this page for more details.
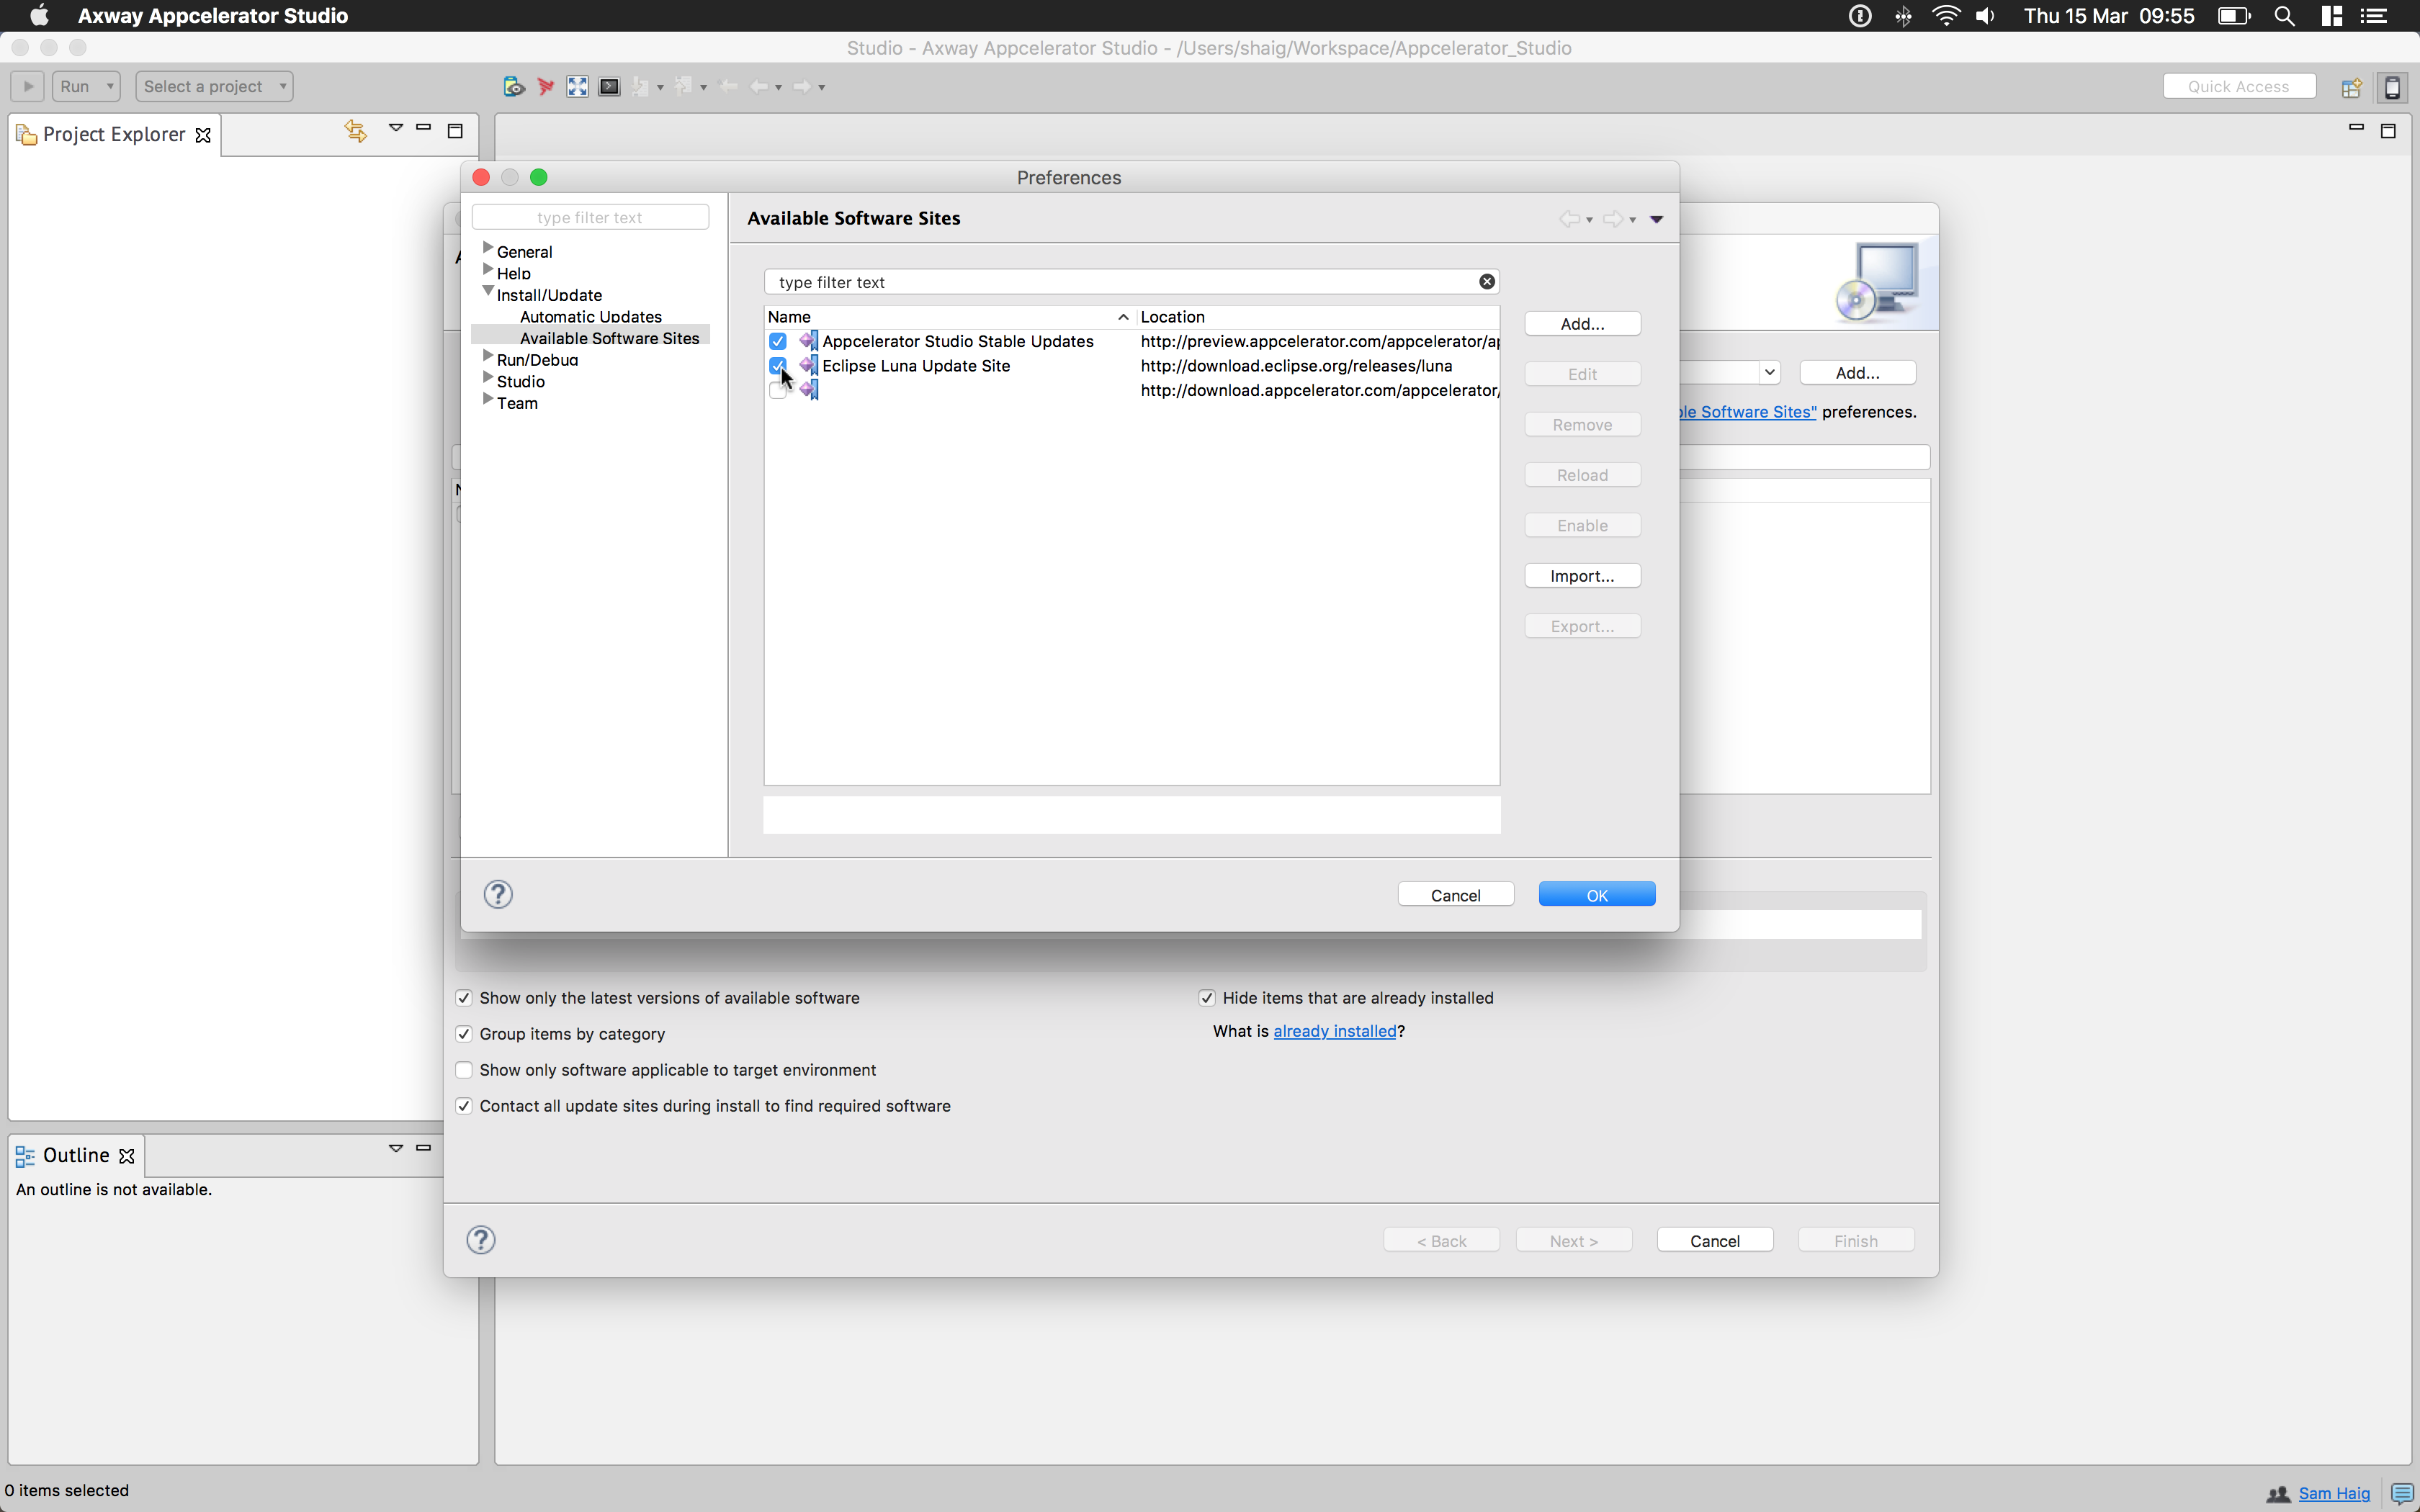
- Click the OK button.
Find and Install the Java Tooling
- Using the Work with drop-down menu, select Eclipse <Code_Name> Update Site. This name varies with the version of Studio you are using. See the
table at the top of this page for more details.
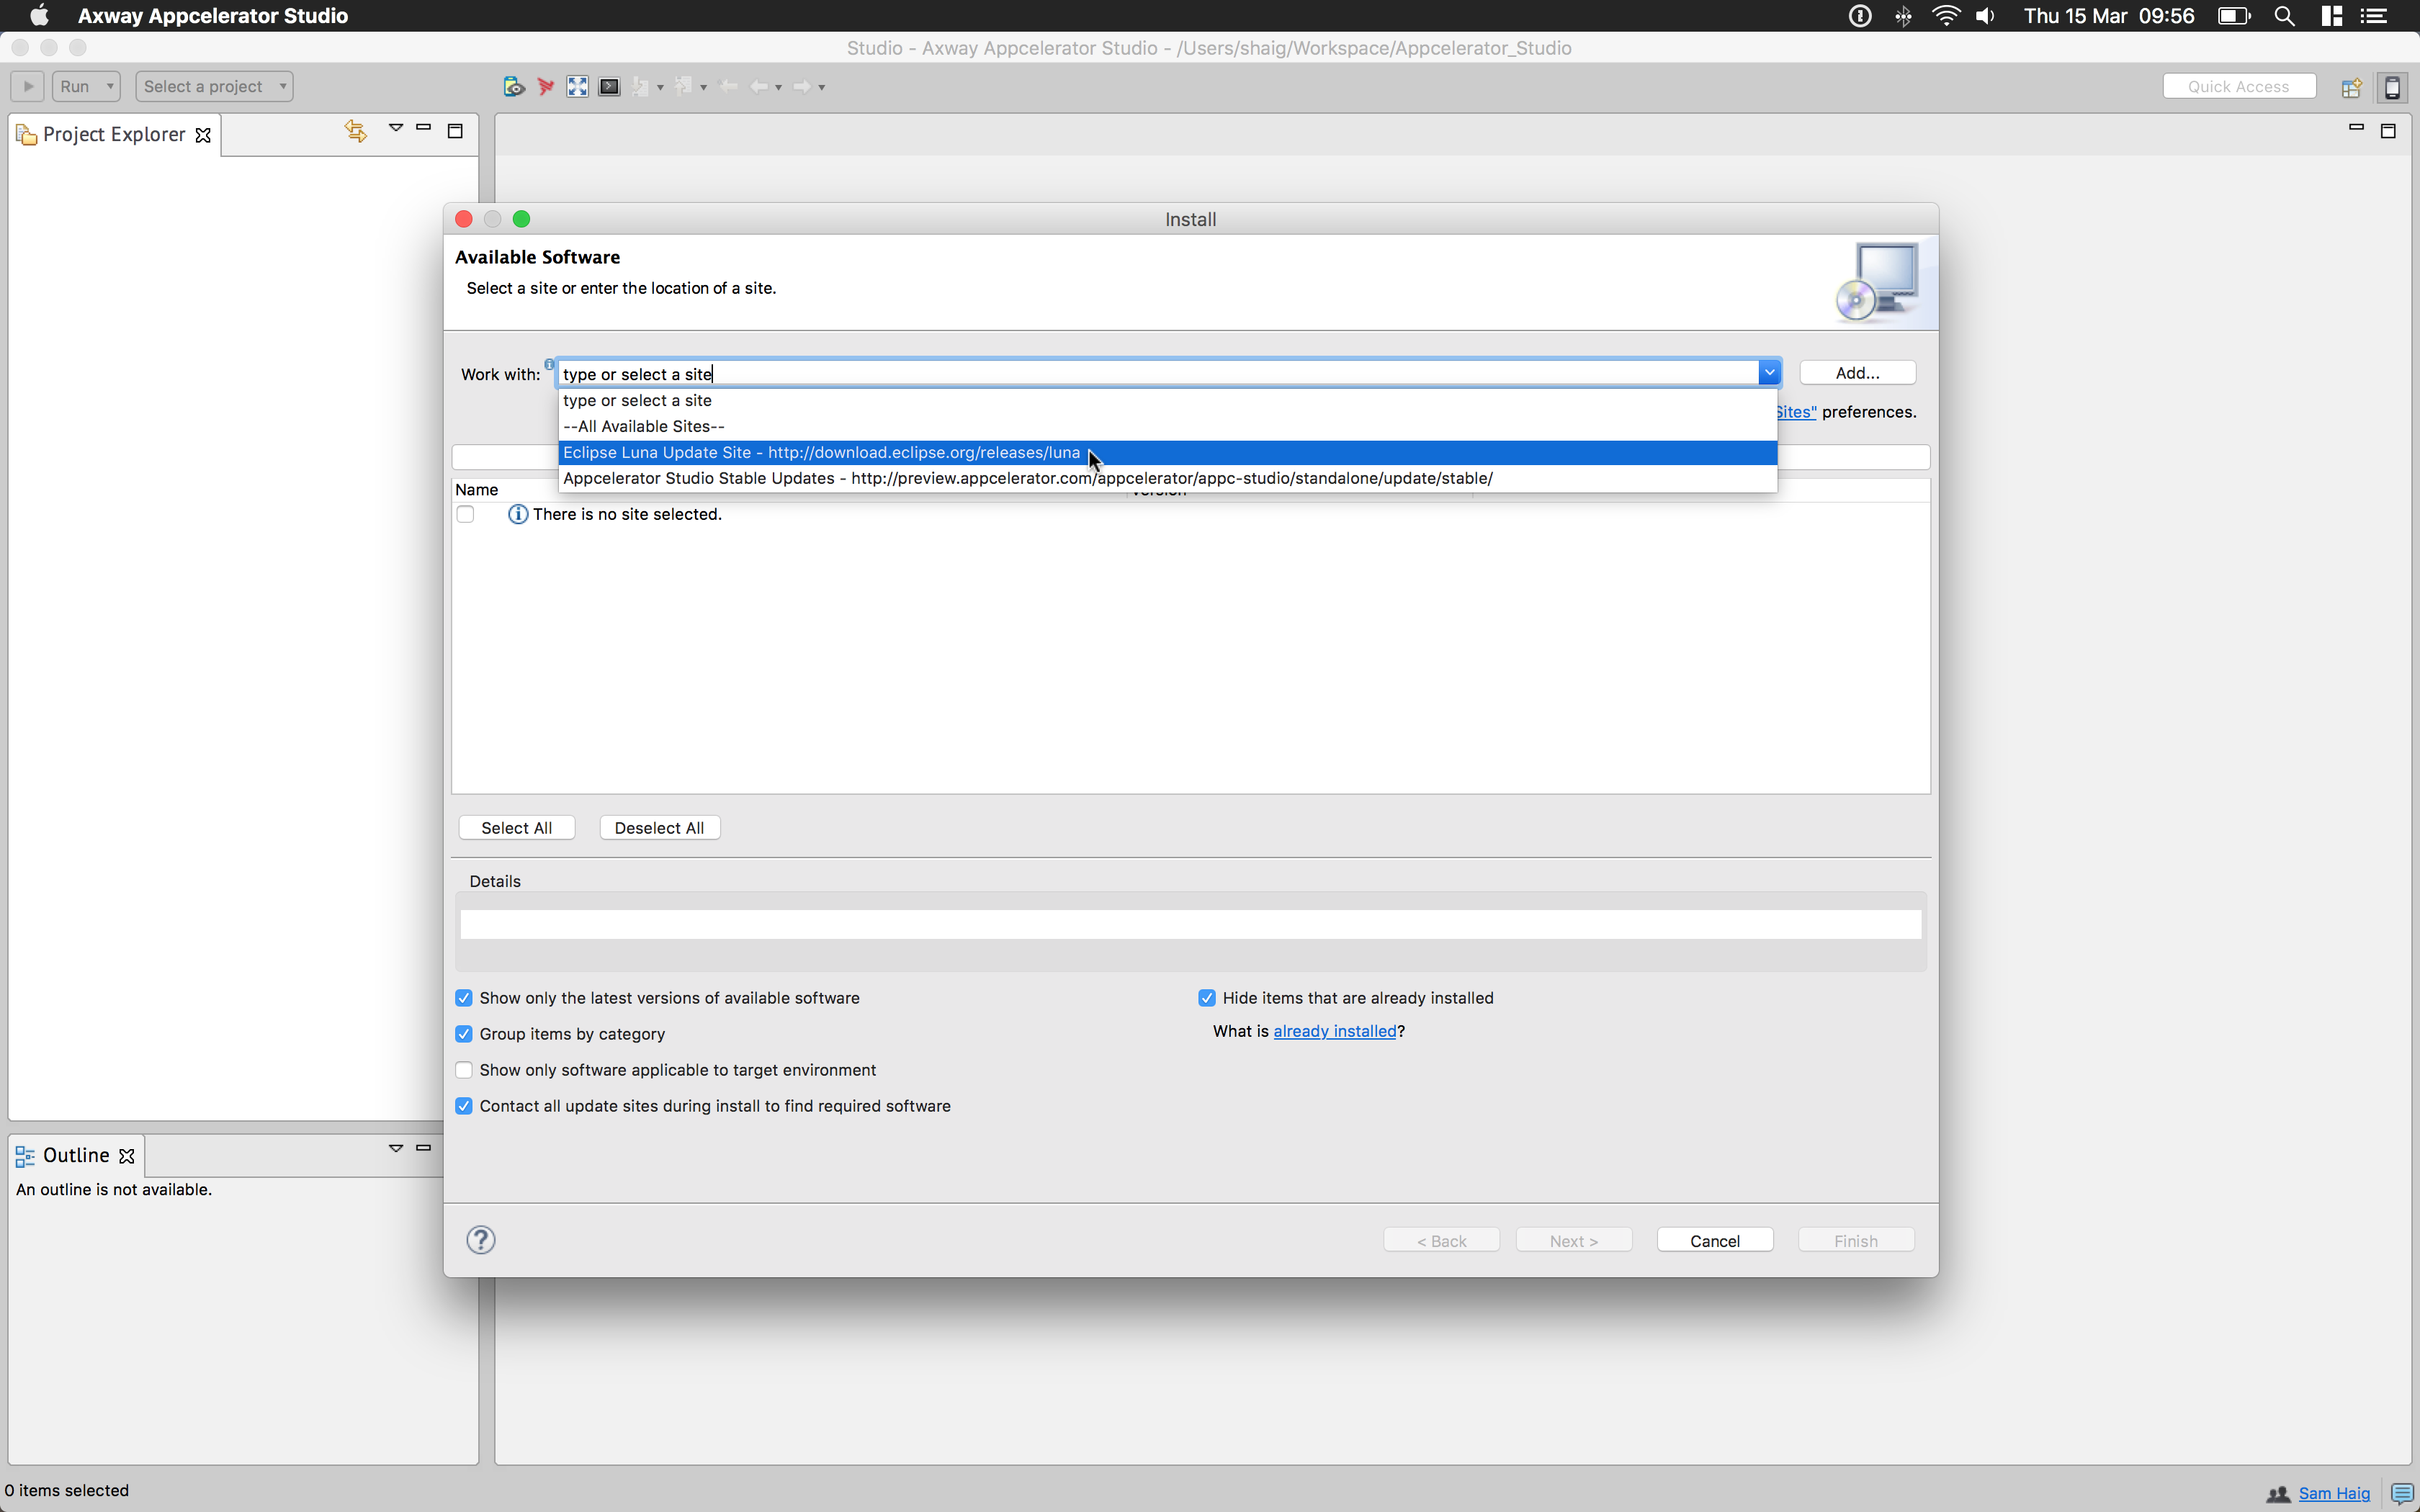
- Wait for the package list to be populated.
- Select the Programming Languages / Eclipse Java Development Tools package from the list.
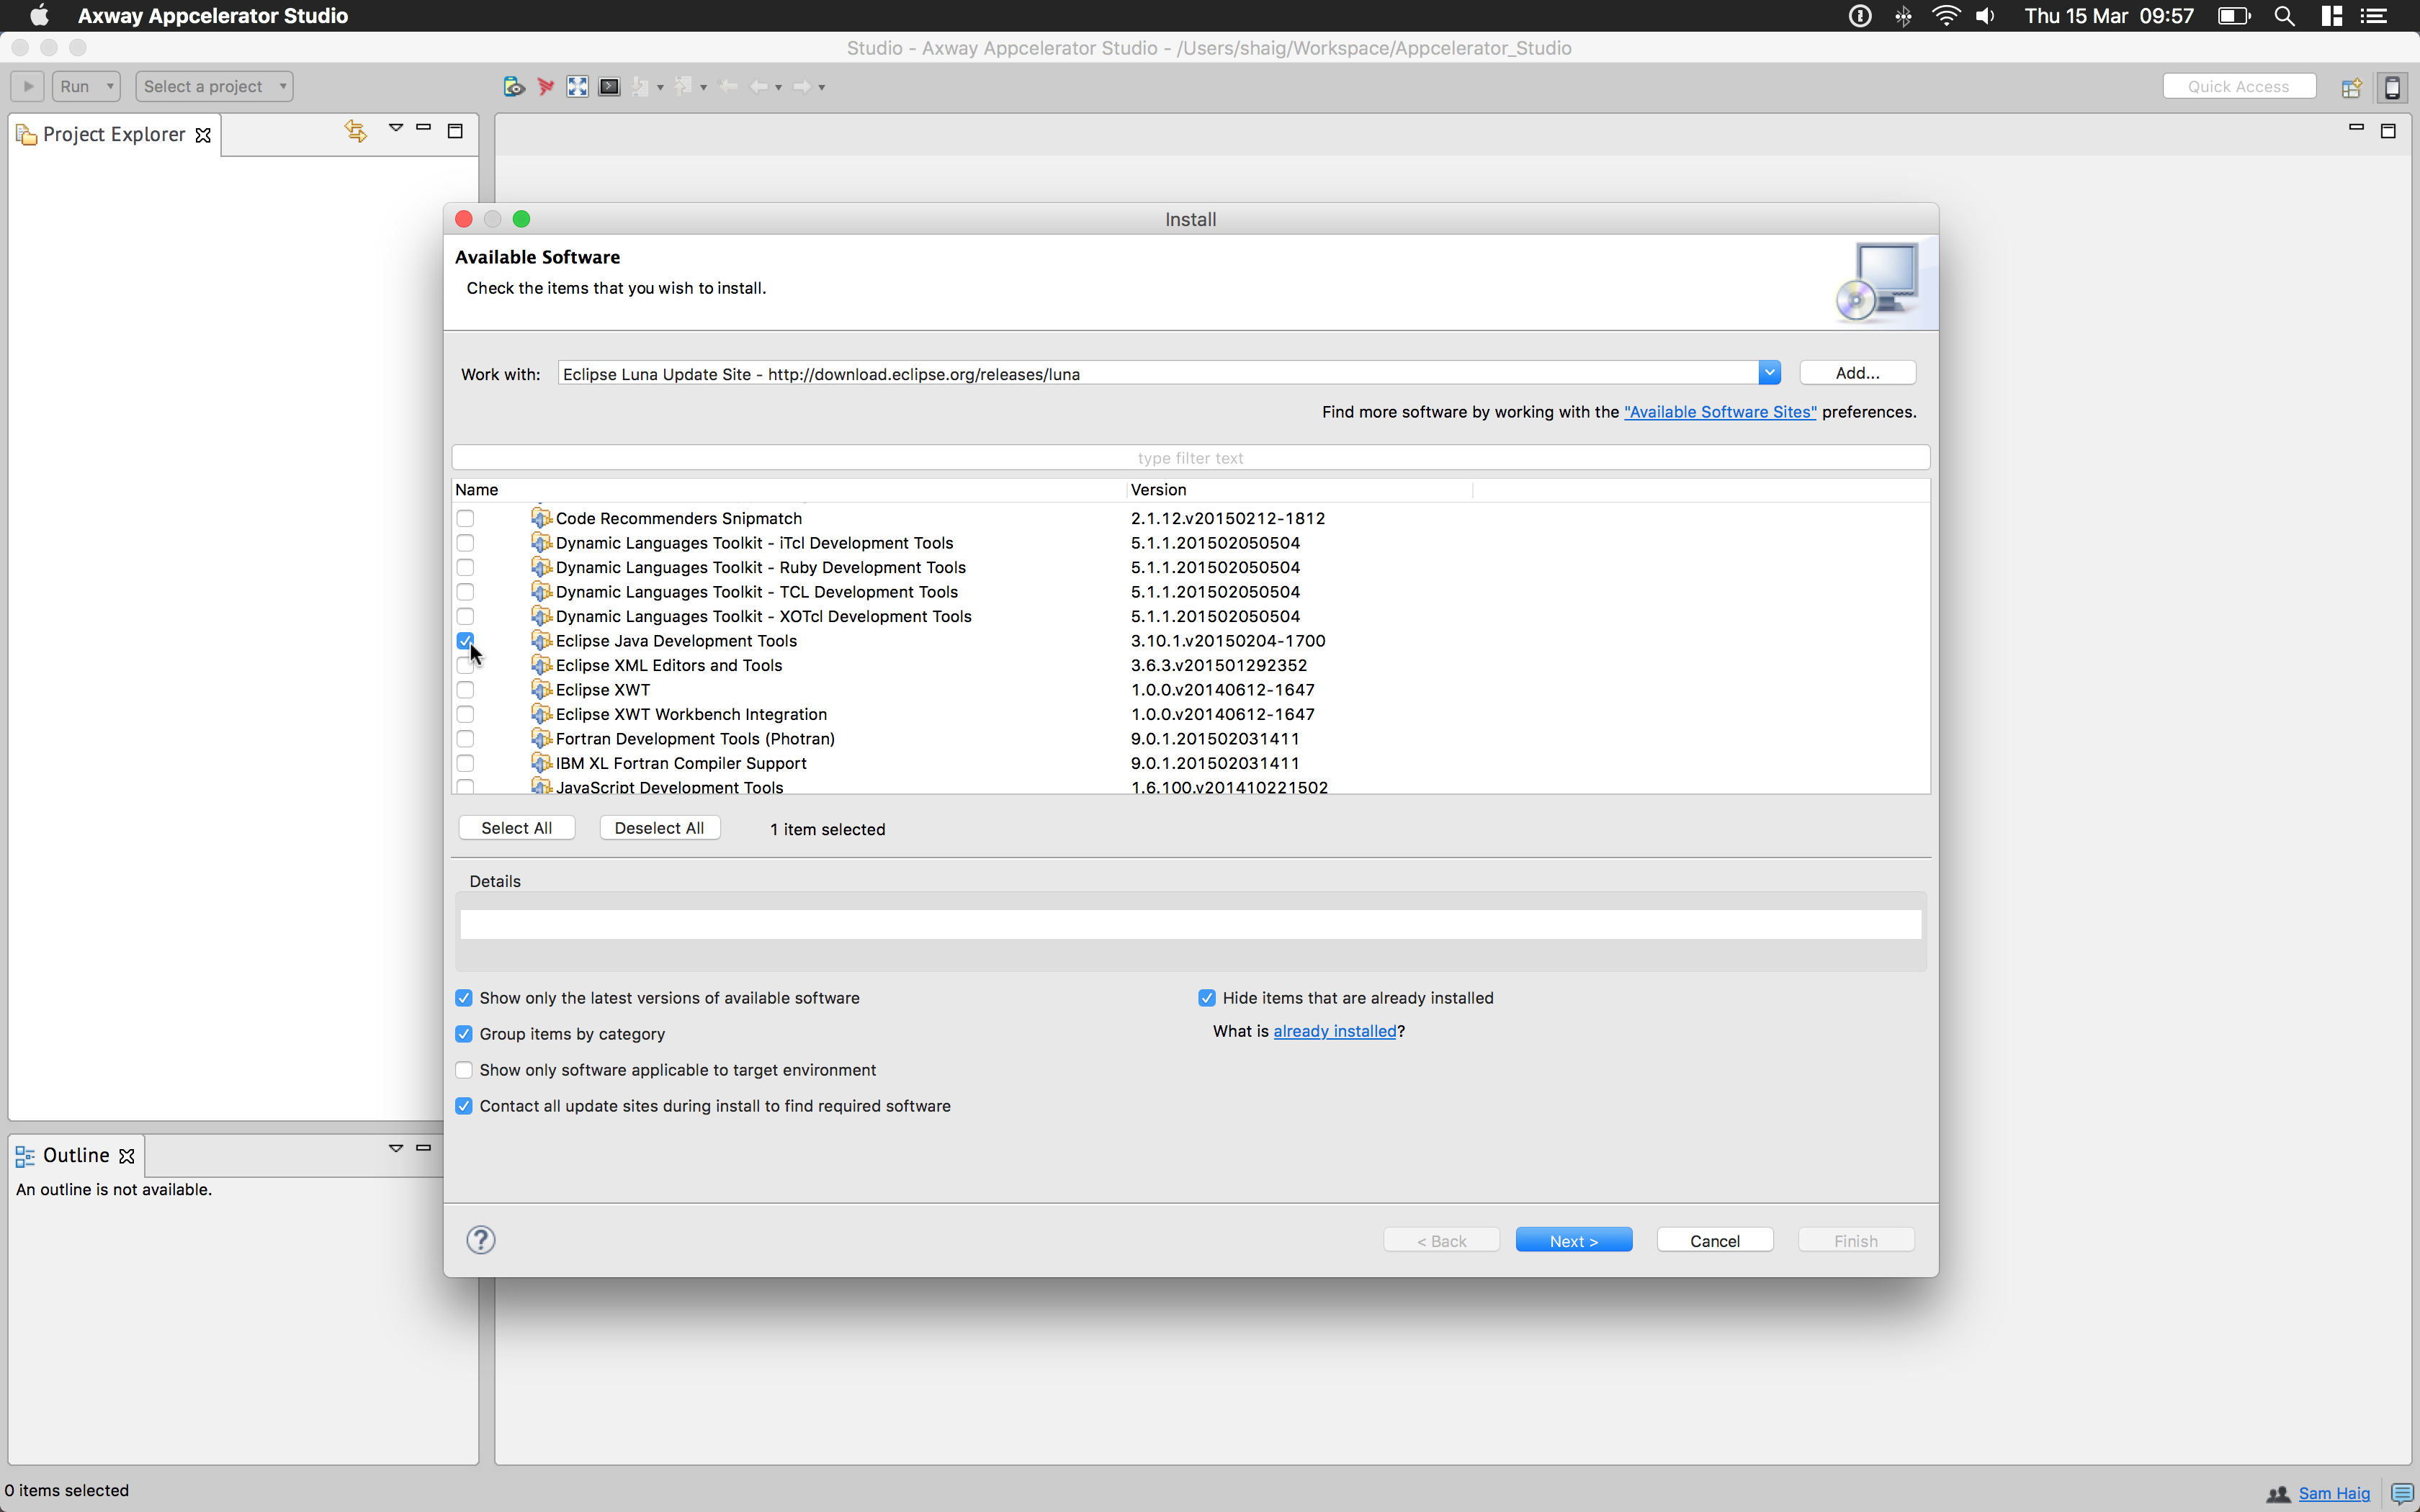
- Click the Next button.
- Click the Next button on the Install Details screen that follows.
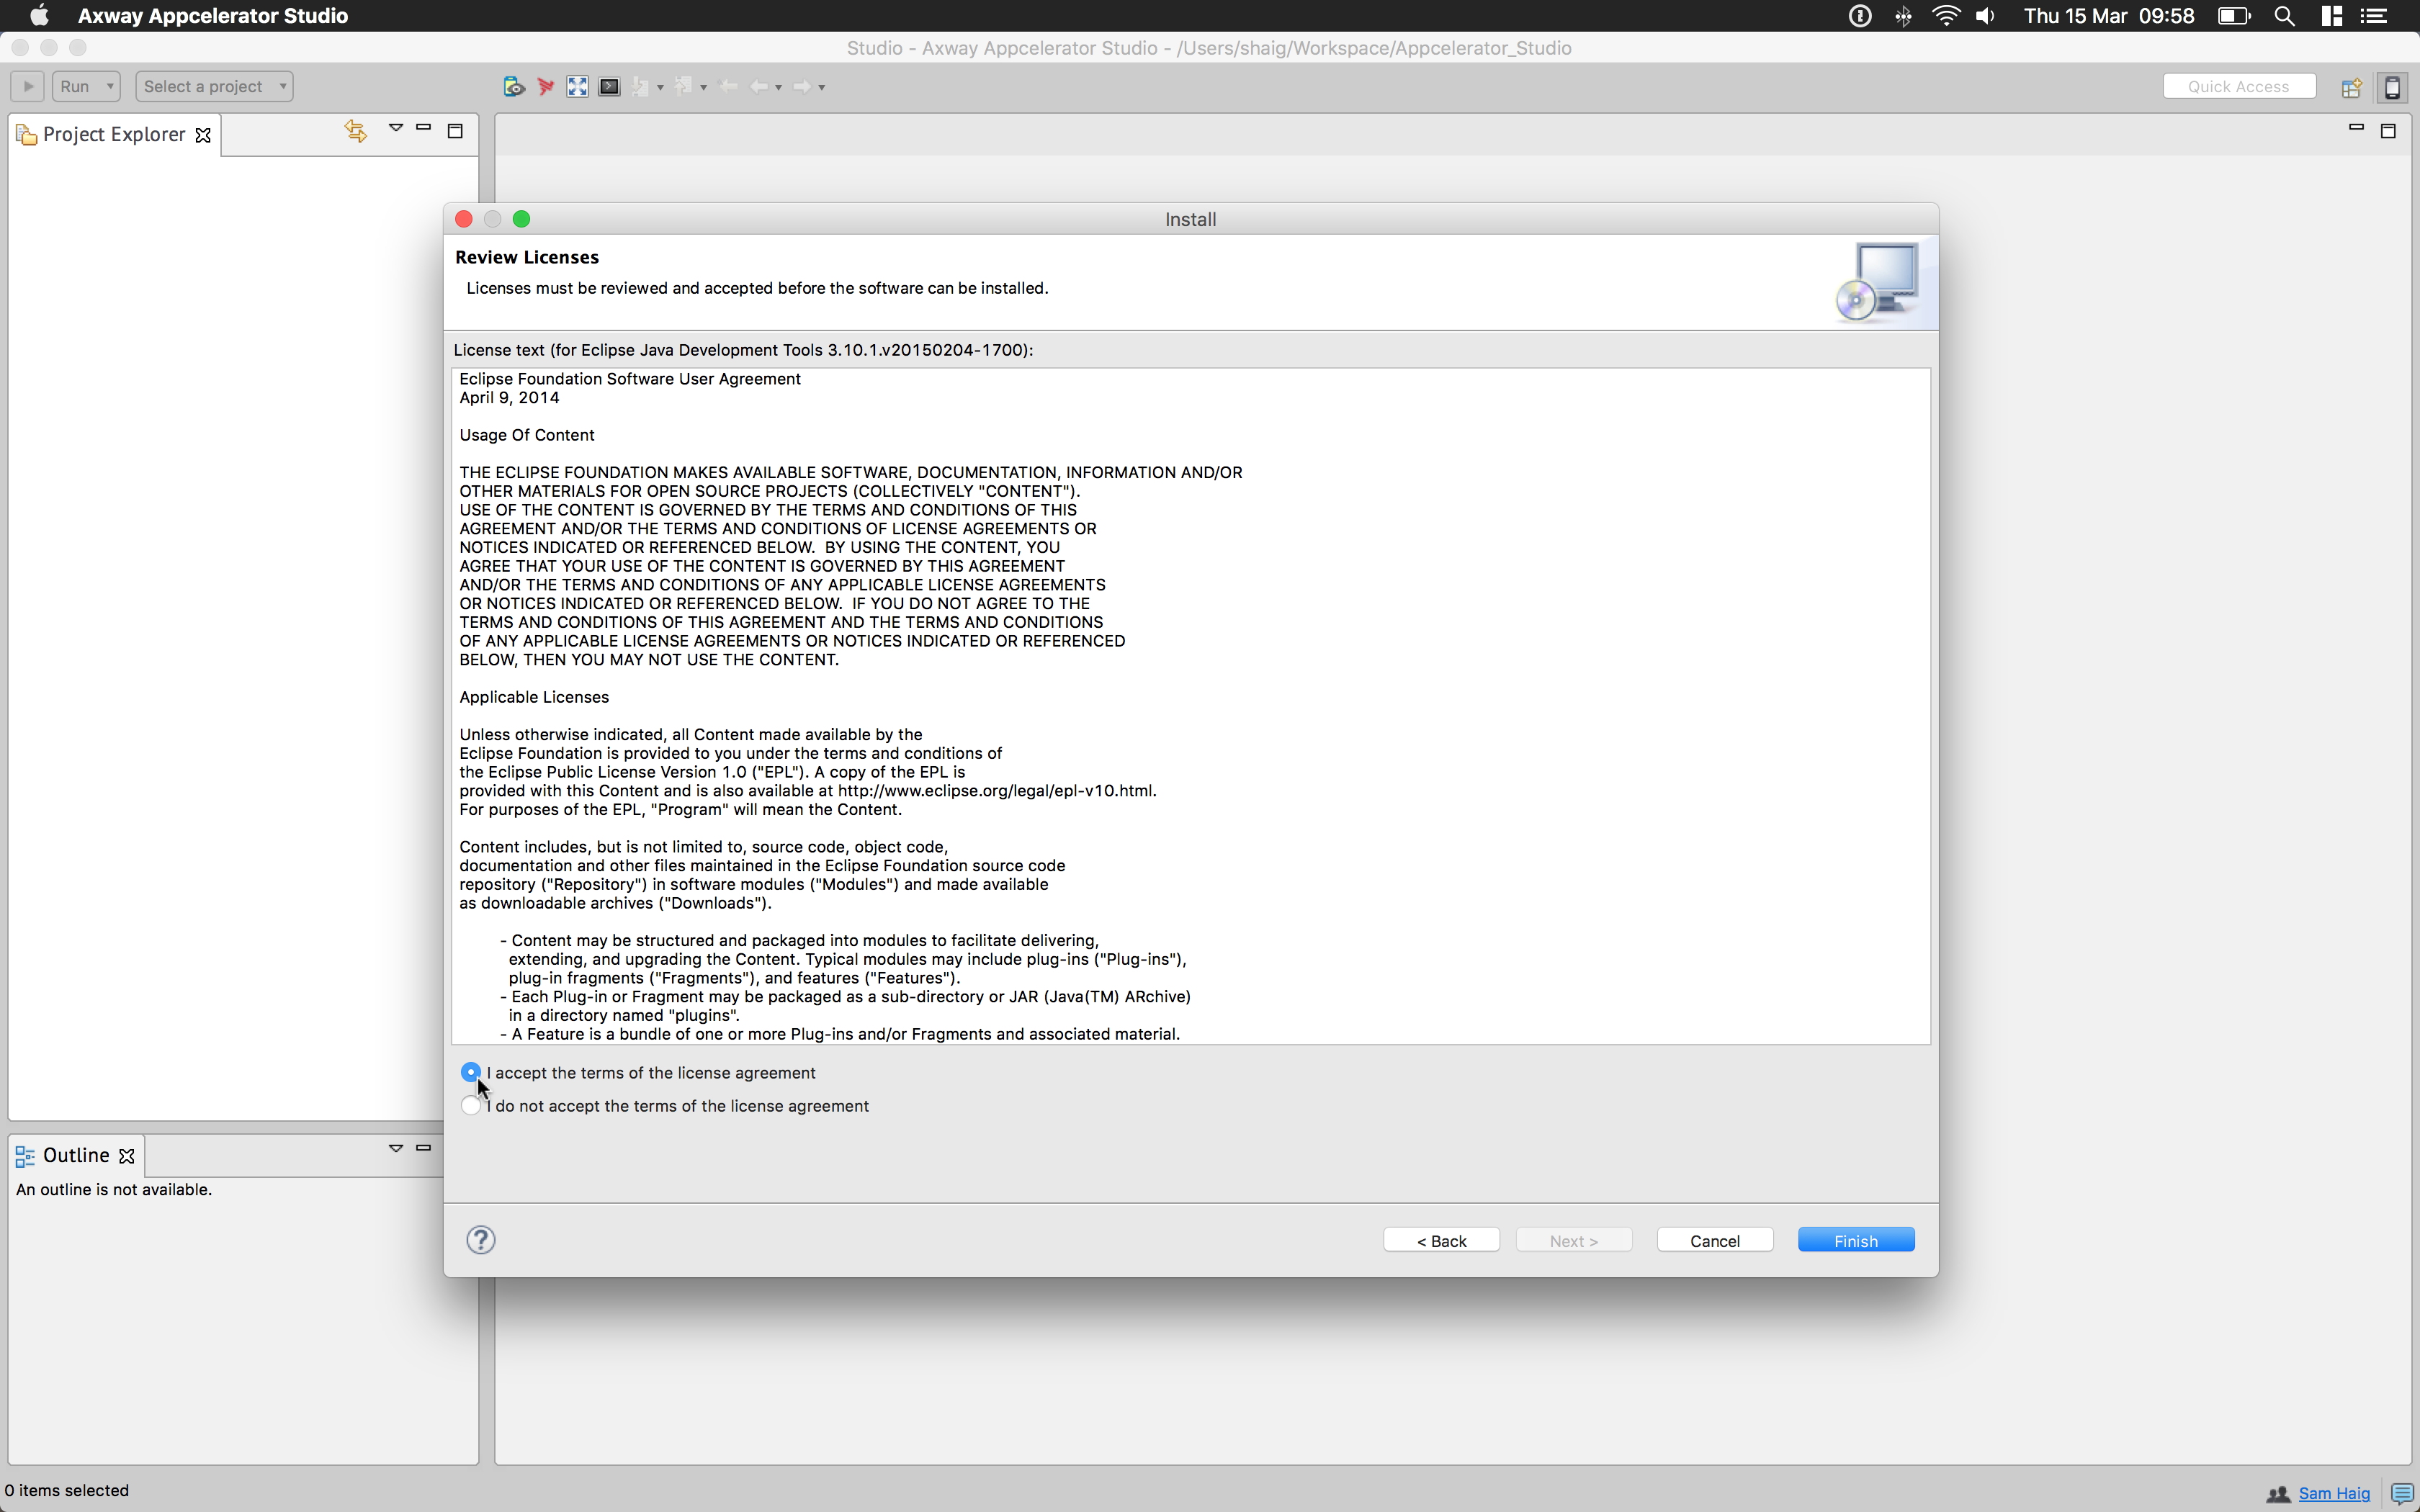
- Accept the license agreement.
- Click the Finish button.
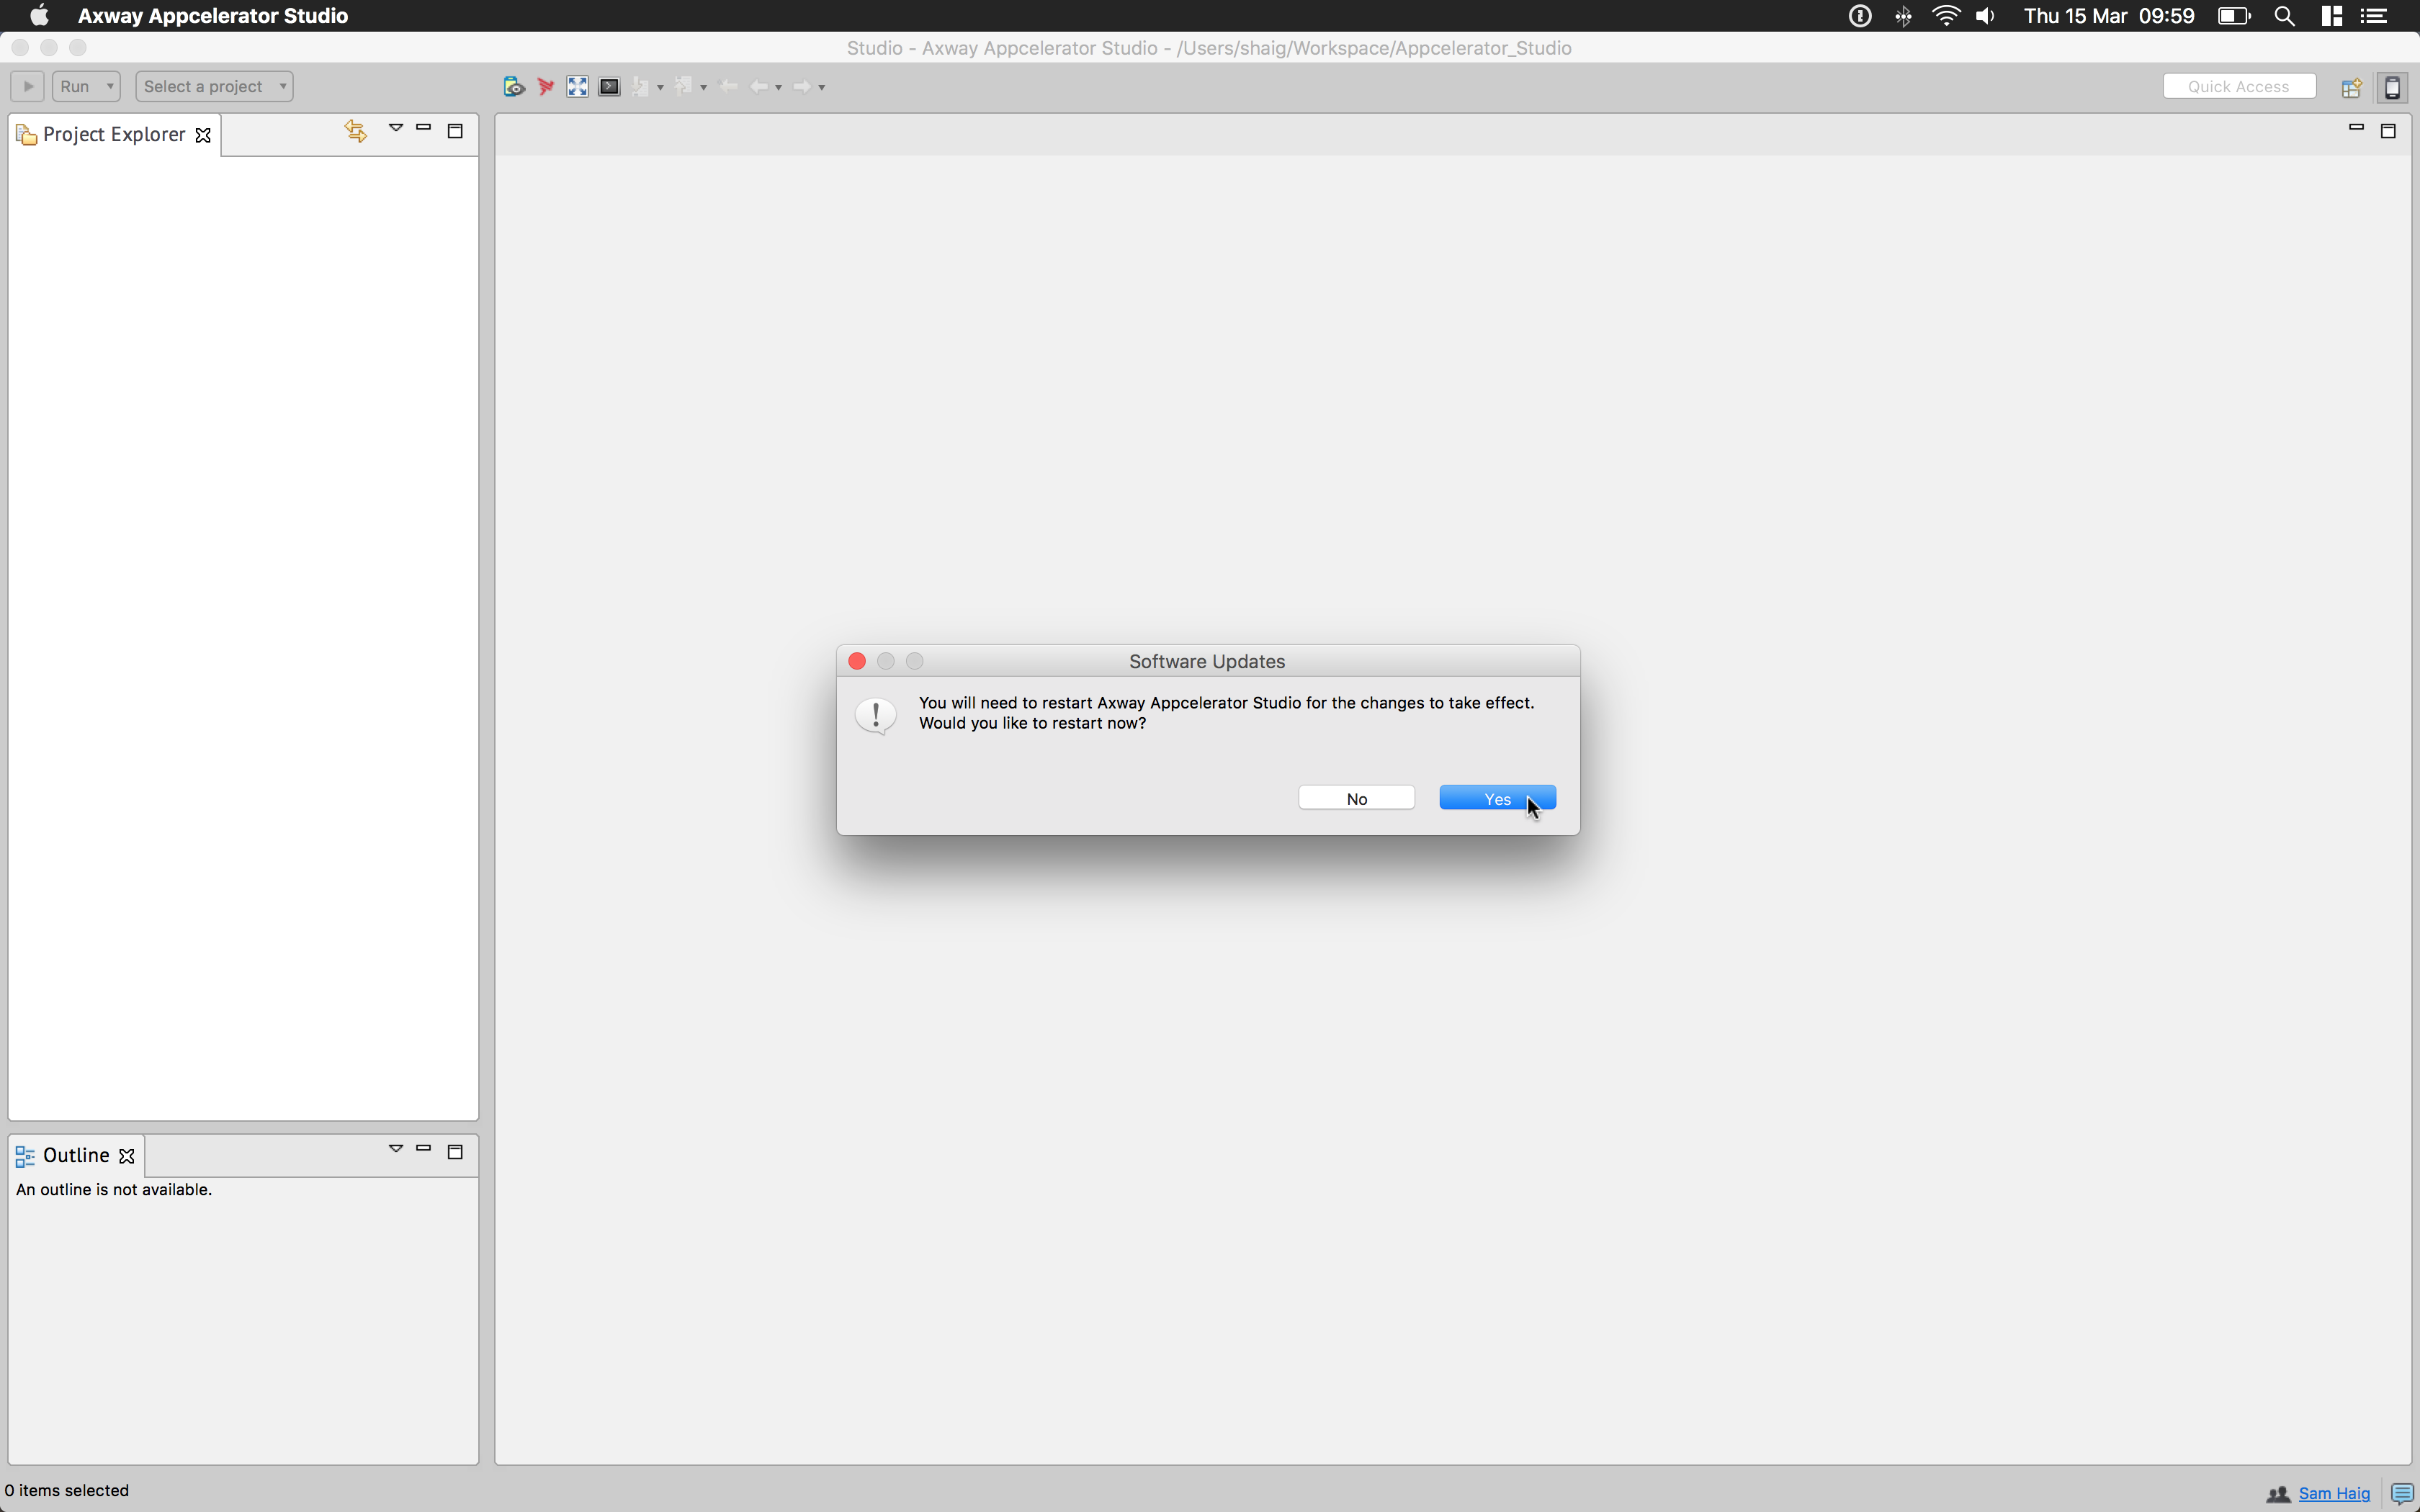
- Once the installation is complete, click the Restart Now button .