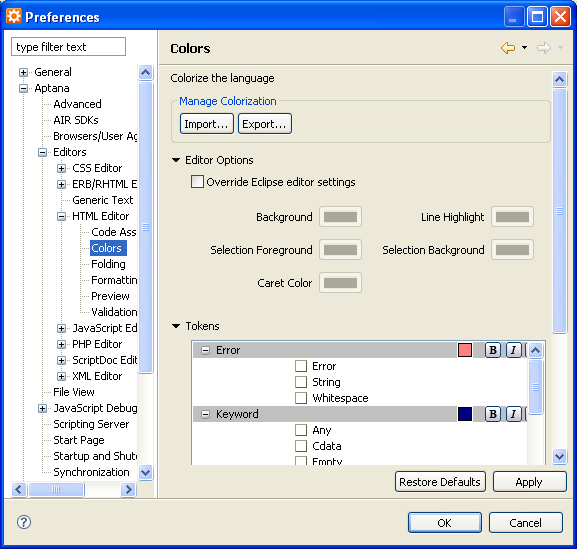
This page gives an overview of how to customize the colorization preferences for the Aptana Editors.
Introduction
You can customize the preferences for Editor colorization in Aptana to match the colorization of another editor or even to create your own Aptana "theme". See the colorization screencast on aptana.tv to for colorization ideas and tips.
You can even export/import your colorization preferences and share them with other users or port them across workspaces. See Exporting and importing colorization preferences to learn how to export/import your customized colorization preferences.
Instructions
To change colorization for an Editor:
- From the Window menu, select Preferences... to open a Preferences window.
- On the tree on the left, navigate to Aptana > Editors, expand the Editor that you want to export colorization for, and select
Colors to go to the colorization preferences screen for that Editor (shown below
for HTML).

- Modify your colorization preferences to fit your needs. You can modify
the following areas of colorization:
- Editor Options (background, line highlight, caret, etc.)
- Tokens (language-specific options, keywords, errors, etc.)
Note: You'll want to customize colorization by the Editor. For example, if you want to change the way that PHP start and end tags are colorized, you'll need to do this inside of the HTML colorization options, whereas you'd change how actual PHP language elements are changed in the PHP options.
- Regions
- Click OK.
