Studio has a "Theme" preference page, which allows you to set the default look and color scheme of Studio editors.
Introduction
The Studio theme page is somewhat similar to that found in TextMate, both in look and functionality. This was done as Studio supports the import and reuse of TextMate themes, making it far easier to adjust editor colors. It operates on the idea of scopes, a mechanism for describing a fragment of the current document. For each scope, a different color may be assigned, and scopes can cascade and combine. In practice, they can be thought of as similar to CSS.
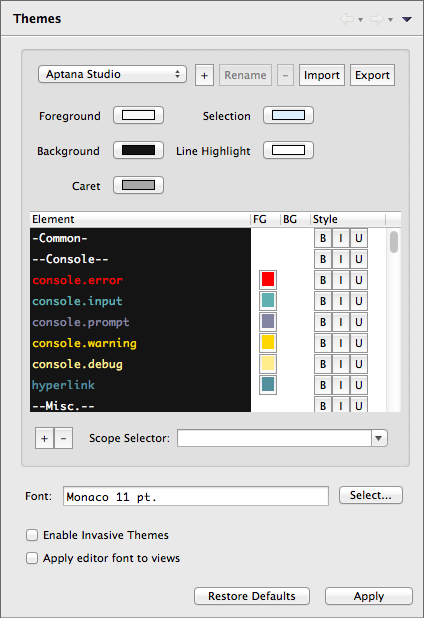
To access the Theme preference page, navigate to Preferences > Studio > Themes
Changing themes
By default, Studio ships with multiple themes, and a dark theme selected by default. To change it:
- Within the Theme preference page, select a new item from the first dropdown (usually set to Aptana Studio).
- Click "Apply".
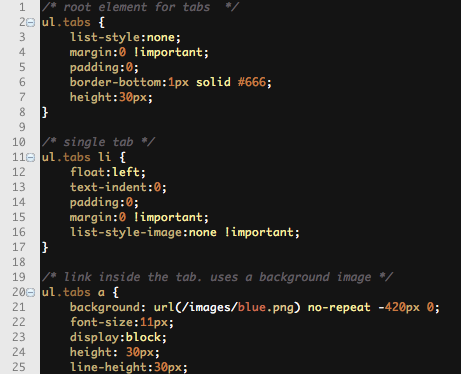
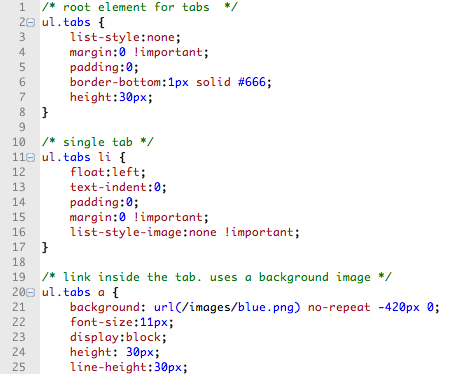
For those who prefer a lighter theme, the "Aptana Studio 2.x" theme is on a white background. A comparison:
|
|
|
|
Aptana Studio Default Theme |
Aptana Studio 2.x Theme |
Invasive theming/applying editor fonts to views
By default, "invasive theming" is on. Invasive theming is a mode whereby non-Studio views and editors are colorized with the same color settings as Studio editors and views. The practical effect of this is to see the whole IDE with a unified color scheme, or just the editor windows, as shown below:
|
|
|
|
invasive theming on |
invasive theming off |
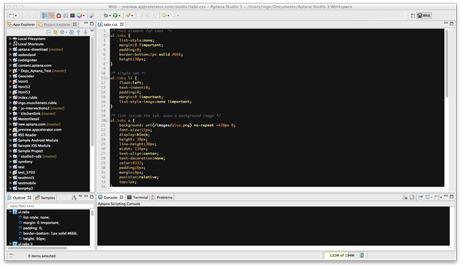
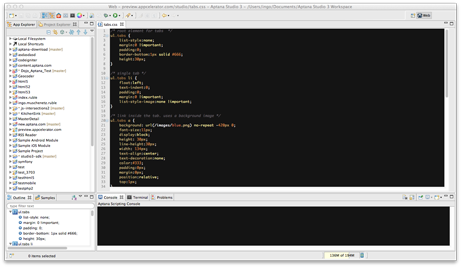
You can see the difference in the Project Explorer and Outline views, though the same results would apply to any Eclipse-generic view or editor.
Enabling/disabling invasive theming
- Within the Theme preference page, check or uncheck the "Enable Invasive Themes" checkbox.
- Click "Apply".
Applying editor fonts to views
This option does largely what the text says--it takes the font defined for the editor and applies it to the various views. This often ends up relacing a typical monospaced font with a proportional-width one.
Changing scope colors, or adding a new scope
To change an existing scope, click on the color or text icons to modify the value. If you wish to tweak colorization even further, see "Updating an Existing Theme" under Creating a New Theme.
To revert a theme to the defaults, click the "Restore Defaults" button.
Duplicating, renaming or removing a theme
Themes may be duplicated or removed from the interface
To duplicate a theme:
- Click the "+" button.
- A new name for the copy is suggested.
- Click OK.
To rename a theme:
- Click the "Rename" button. Only user-added themes may be renamed.
- Type a new name.
- Click OK.
To removing a theme:
- Click the "-" button. Only user-added themes may be removed.
- Accept the confirmation.
- Click OK.
Importing/exporting themes
You can reuse an existing TextMate theme, or export your modifications for others to use and enjoy.
To import a theme:
- Click the "Import" button.
- Navigate on the file system to a *.tmTheme file.
- Click Open.
To export a theme:
- Click the "Export" button.
- A new file is suggested with a *tmTheme extension.
- Click Save.
You can find more themes under User Themes.