Getting help overview
This guide walkthroughs the setup of Axway Appcelerator Studio (Studio). Although using Studio is not mandatory for mobile application development, which can be done using a text editor and our command-line tools, we believe that it is the most effective way to speed up your development process and increase your productivity when building quality applications using Alloy and the Titanium SDK.
Compatibility and download
Use the latest stable version of Studio.

Preparing for Studio
System requirements
A system must satisfy the following requirements in order to run Studio.
Memory
|
Product
|
Host Operating System
|
Storage
|
|---|---|---|
| Appcelerator Studio | All | 1 GB (contiguous) |
| Latest Android SDK | macOS | 1.5 GB (contiguous) |
| Latest Android SDK | Windows | 1 GB (contiguous) |
Disk space
We recommend the following as a guideline for estimating how much disk space is necessary to build applications using Axway Appcelerator Studio:
| Xcode | 15 - 20GB | Xcode includes the latest iOS and related simulator(s). |
| Android Studio | 10 - 15GB | You may need to select with SDK(s), NDK(s), and emulators to use. |
| Axway Appcelerator Studio | ~250MB | |
| Genymotion | ~1GB | Genymotion is optional |
| Mobile app (workspace) | 50MB - 3GB | Disk usage depends on many factors. |
|
Application
|
Recommended disk space
|
Comments
|
|---|
Operating system
Titanium is supported on the following Operating Systems:
|
Operating System
|
Version
|
|---|---|
| macOS | 10.11.5 (Mavericks) and later |
| Windows | Windows 7 and later(Android) Windows 8.1 and later (Windows Phone) Windows 10 and later (Windows 10 Mobile) |
Node.js
Titanium SDK has full NodeJS support so users can use NPM modules Android and iOS platforms.
Minor differences
This implementation includes the NodeJS require algorithm with some minor differences:
- SDK doesn't attempt to load *.node files
- SDK doesn't have replacements for Node's core modules
- If the required string doesn't have the prefix of
./,/, or../, and its not a native module, the SDK will fall back to legacy Titanium behavior of assuming the require is meant as "absolute" inside the app (as in starting at "Resources/") - The SDK will load JSON files and directories (package.json's main property (look at it, resolve it, and try to load it), index.js, and index.json)
Algorithm summary
To summarize the algorithm the SDK uses, here are three summaries for requiring a module, loading as file, and loading as directory:
Require(X) from module at path Y
- If X is a core module,
- return the core module
- STOP
- If X begins with ./, or ../,
- LOAD_AS_FILE(Y + X)
- LOAD_AS_DIRECTORY(Y + X)
- If X begins with /,
- LOAD_AS_FILE(X)
- LOAD_AS_DIRECTORY(X)
- If X does not contain '/', assume it should try and load CommonJS module first....
- LOAD_AS_FILE(X/X.js): try to load "legacy" CommonJS file named
module.id/module.id.js. - LOAD_AS_DIRECTORY(X): try to load CommonJS module as a directory
- LOAD_AS_FILE(X/X.js): try to load "legacy" CommonJS file named
- WARN user about possible bad require being treated as absolute THROW
"not found"
- LOAD_AS_FILE(X)
- LOAD_AS_DIRECTORY(X)
LOAD_AS_FILE(X)
- If X is a file, load X as JavaScript text or JavaScript Object (JSON). STOP
- If X.js is a file, load X.js as JavaScript text. STOP
- If X.json is a file, parse X.json to a JavaScript Object. STOP
LOAD_AS_DIRECTORY(X)
- If X/package.json is a file, If X/index.js is a file, load X/index.js
as JavaScript text. STOP
- Parse X/package.json and look for "main" field.
- let M = X + (json main field)
- LOAD_AS_FILE(M)
- If X/index.json is a file, parse X/index.json to a JavaScript object. STOP
Software locations
The default and recommended software locations of a successful Titanium installation on each platform are described in Software Locations and Environment Variables.
Installing Studio
The installation procedure for Studio differs depending on the platform.
OS X
In addition to installing Studio, the installer for OS X also downloads and installs necessary third-party software that it requires, including the Java Development Kit and Node.js.
To install and run Studio on OS X using the GUI:
- Launch the Studio DMG you downloaded.
- Double-click the PKG file in the dialog.
- Click Continue. The installer will check to see if the perquisites are met.
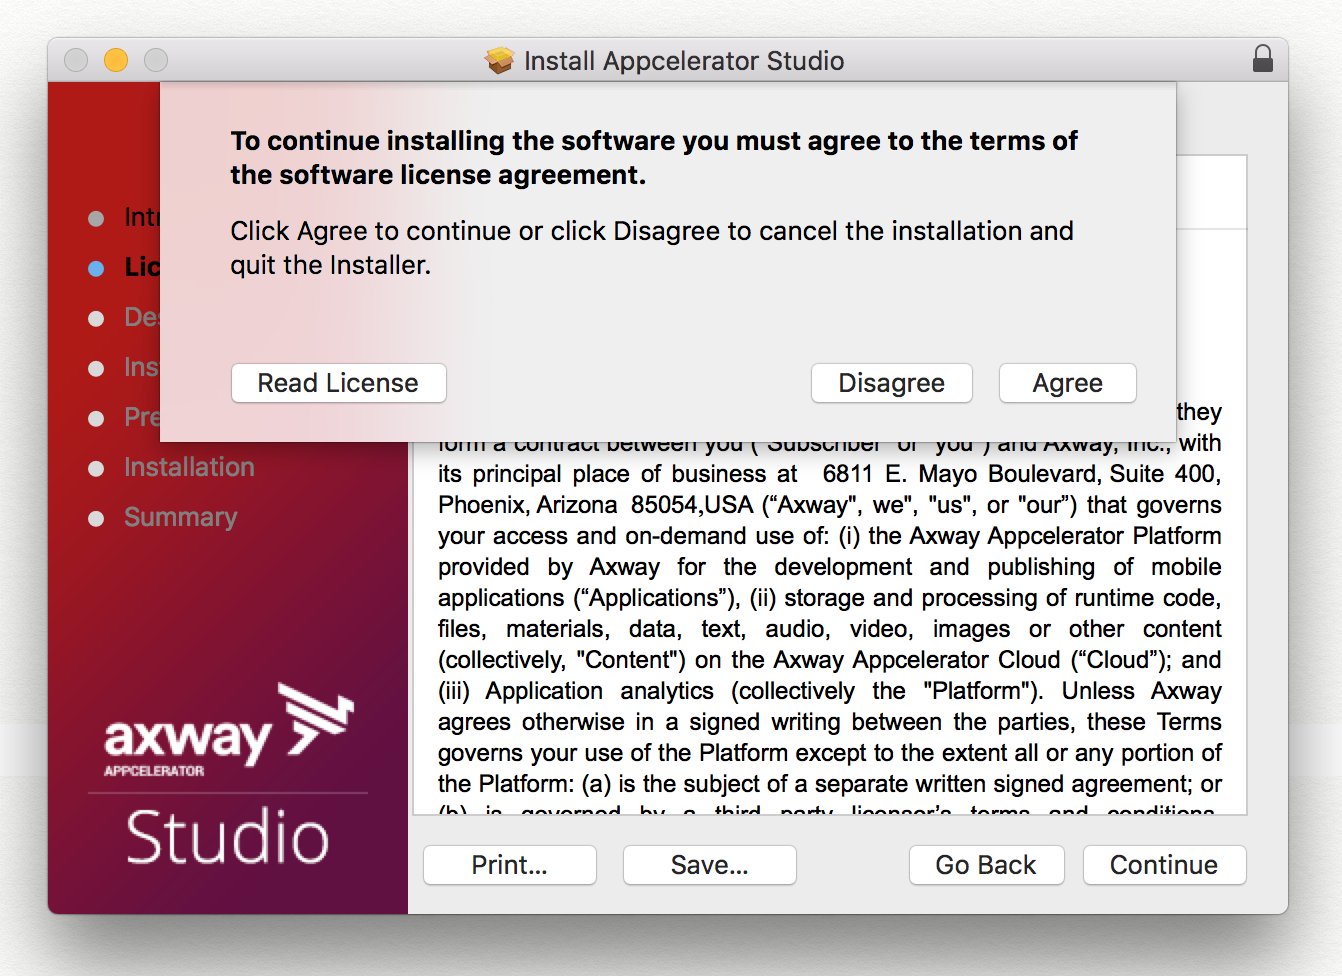
- After the check, the license agreement appears. Click Continue, then click Agree to accept the license agreement.
- Select a destination, typically this will be the Macintosh HD, then click Continue.
- Click Install to start the installation process. The installer will install the prerequisites and Studio
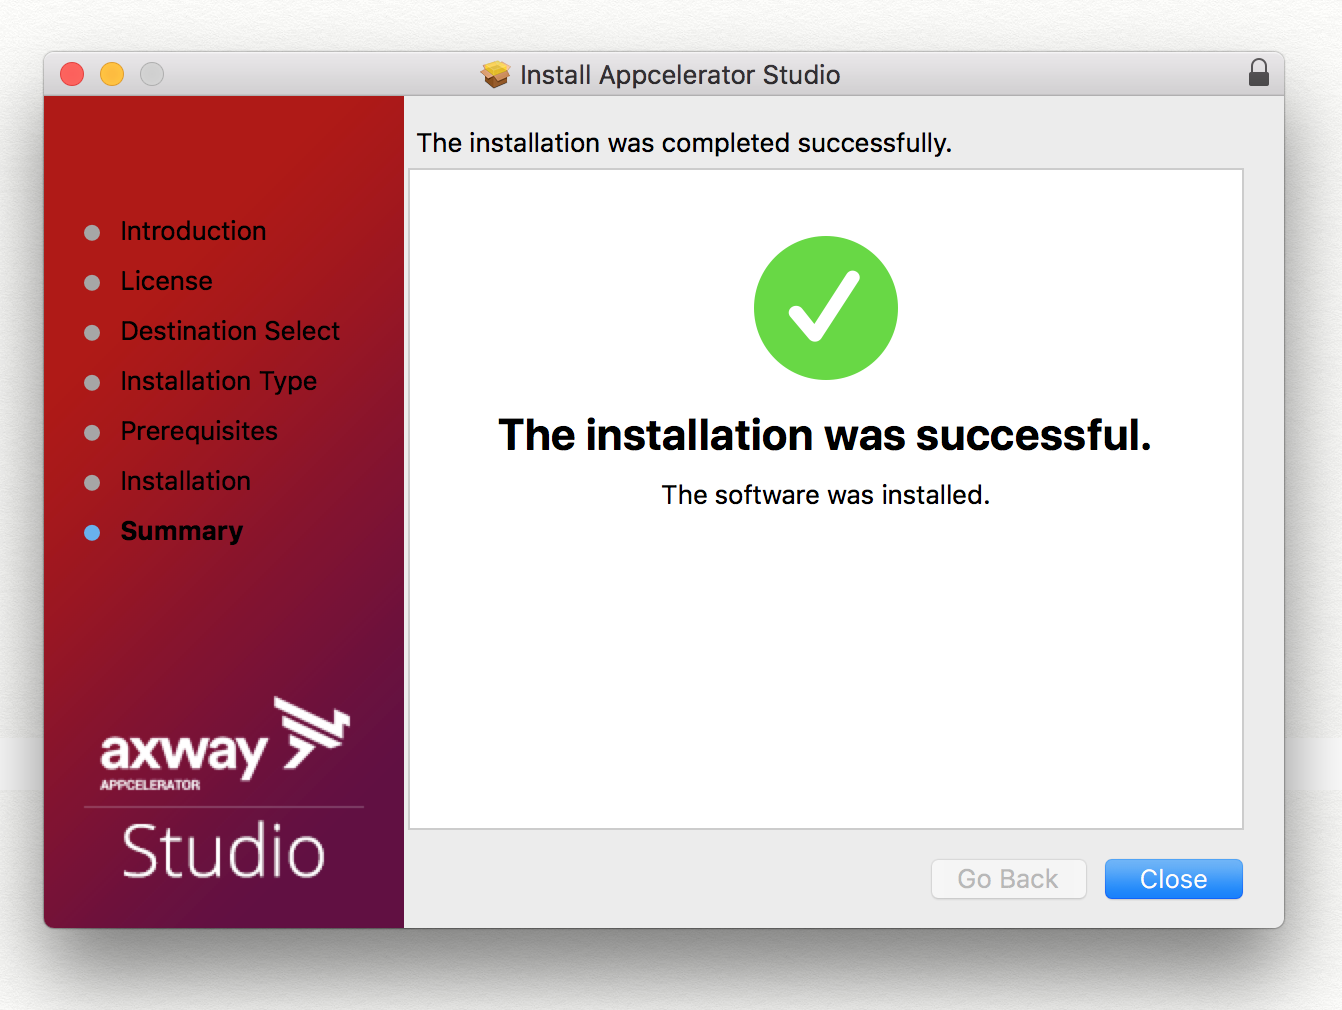
- After installation is complete, click Close and eject the Appcelerator Studio volume.
- To start Studio, from the Dock, select Applications > Appcelerator Studio > AppceleratorStudio.
To install and run Studio on OS X using the CLI:
- Mount the DMG file using the
hdiutil attachcommand. - Run the installer using the
installercommand with sudo and specify the package and target using the-pkgand-targetoptions, respectively. - Enter your sudo password when prompted. The installer will install the prerequisites and Studio.
- To start Studio, execute
open /Applications/Appcelerator_Studio/AppceleratorStudio.app/.
$ hdiutil attach ~/Downloads/Appcelerator_Studio.dmg $ sudo installer -pkg "/Volumes/Appcelerator Studio/Appcelerator Studio.pkg" -target "/"Password:installer: Package name is Appcelerator Studioinstaller: Upgrading at base path /installer: The upgrade was successful. |
Windows
In addition to installing Studio, the installer for Windows also downloads and installs necessary third-party software that it requires to run, including the Java Development Kit, Git, and Node.js.
To install Studio on Windows using the GUI:
- Launch the Studio installer you downloaded. You may be prompted throughout the installation to enter the system's administrator's password.
-
Select the install location. By default, Studio is installed to
%USERPROFILE%\AppData\Roaming\Appcelerator\Appcelerator Studio\folder. -
Check the I agree to the License terms and condition checkbox.
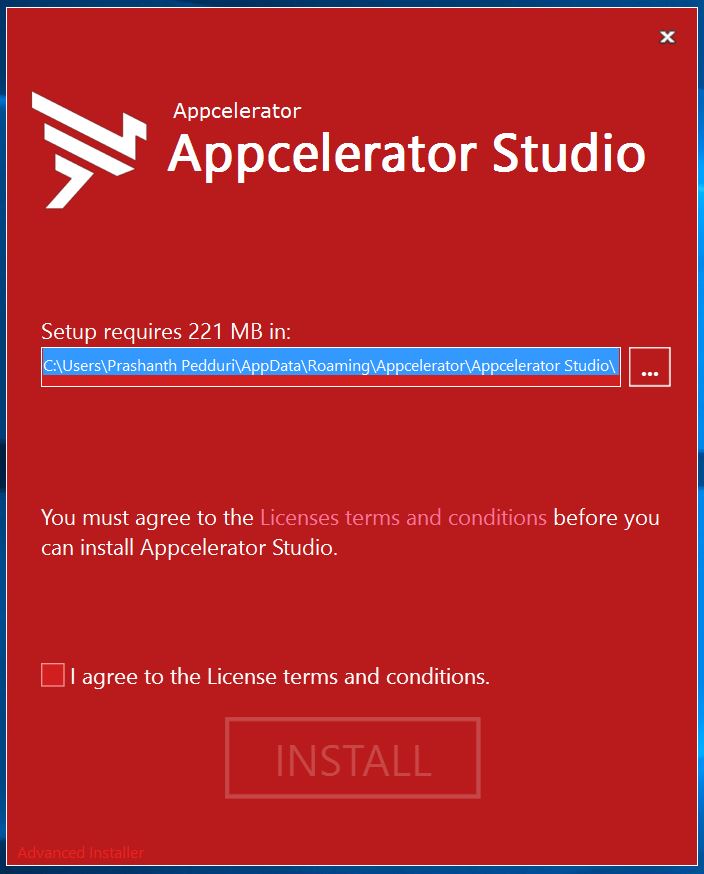
- Click the INSTALL button. The installer determines if the prerequisites are installed. If not, the installer automatically installs them for you.
- Once the prerequisites are installed, the installer installs Studio. When
the installation completes, click Finish.

-
To start Studio, double-click the Studio icon on the Desktop or the Start screen (on Windows 8).
To install Studio on Windows using the CLI:
- Launch the Command Prompt as an administrator. If you do not run as an administrator, the prerequisites will not be installed.
- Execute the AppceleratorStudio.exe executable with the
/exenouiand/qflags. The installer installs the prerequisites and Studio. - To start Studio, execute the
AppceleratorStudio.exe.
C:\Users\JDoe\Downloads>"Appcelerator Studio.exe" /exenoui /qC:\Users\JDoe\Downloads>cd ..C:\Users\JDoe>"AppData\Roaming\Appcelerator\Appcelerator Studio\AppceleratorStudio.exe" |
Launching Studio
Selecting a workspace folder
The first time you launch Studio you need to select a workspace, or folder where Studio stores your project files and IDE preferences. By default, Studio prompts you upon each launch to select a workspace.
- Click Browse to select a workspace folder to use.
- To hide this dialog on subsequent launches, select the Use this as the default and do not ask again option.
- Click OK.
Logging in to Studio
On initial launch, Studio asks you to provide your AMPLIFY Appcelerator Services account credentials. Studio requires an internet connection to authenticate the user to the Appcelerator cloud
- Enter your AMPLIFY Appcelerator Services credentials.
- Optionally click Proxy Setup... to configure your proxy settings if needed.
- Click Login.
Studio remembers your login credentials until you sign out of Studio.
Checking for Studio and SDK updates
When Studio launches for the first time, it automatically downloads the latest version all Appcelerator components. To confirm that your environment is up-to-date, select Help > Check for Appcelerator SDK Updates. This will install the latest versions of the following software:
- Studio
- Titanium SDK
- Node.js
- Required NPM packages
Installing platform SDKs
To develop native applications with Titanium you need the SDKs and tools for those native platforms installed on your system. For example, to develop Android applications you need the Android SDK and toolchain installed.
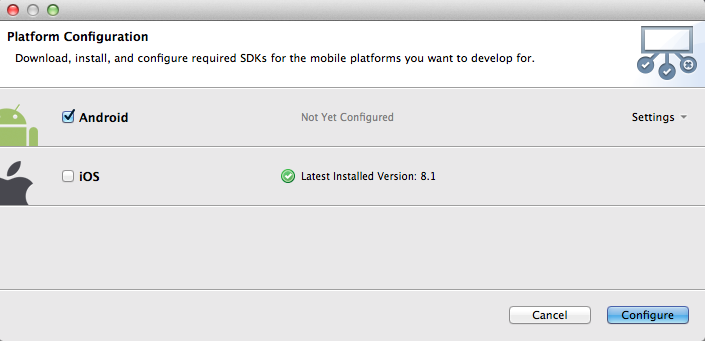
The first time you launch Studio the Platform Configuration dialog opens. This dialog indicates which platform SDKs are installed and which are not, and lets you easily install individual SDKs. In the following screenshot, the system has none of the native SDKs installed.
To install the platform SDKs:
- Select the platforms you want to install.
- Optionally click Settings next to each platform to customize the installation configuration. For more details, see Installing Platform SDKs.
- Click Configure to start the installation process.
Studio begins downloading and installing each SDK you selected, according to the settings you specified. In the case of iOS, Studio launches the App Store application installed on your Mac to the XCode download page.
Configuring advanced platform settings
Typically, you can use the Platform Configuration dialog to download and install mobile SDKs. The Preferences dialog to configure advanced settings for the platform SDKs.
To configure advanced platform settings:
- Open the Preferences dialog:
- On Mac OS X, press Command key-Comma (,) or Appcelerator Studio > Preferences from the application menu.
- On Windows, select Window > Preferences .
- Navigate to the Studio > Platforms preferences section that contains sections for configuring each mobile
platform SDK.
The section below describe the settings for each SDK.
Android settings
Under the Android settings item, you can configure the following settings:
- Android SDK Home - Location of the Android SDK
- Android NDK Home - Location of your Android NDK (only necessary for developing native Titanium module).
- Default Emulator - The default Android emulator used to launch your application

To create a new Android emulator or modify an existing one:
- Click Manage AVDs... to open the Android Virtual Device Manage r . See Managing AVDs with AVD Manager for more information.
To install additional Android SDKs:
- Click Install SDKs... to open the Platform Configuration wizard to install additional Android SDKs.
To manage Android keystores for distribution:
- Expand the Android > Keystores page where you manage the keystores for packaging APK files for distribution.
- To add an existing keystore, click Add Existing... and browse to the keystore file.
- To create a new keystore, click Create New... to open the Create Keystore dialog. Enter the keystore information and click OK to create the keystore file.
iOS settings
Under the iOS item, you can configure:
- iOS SDK Home - indicates the path to Xcode. Use the
xcode-selectcommand-line tool to change this setting, then restart Studio. - Default Device Profile - select the default simulator to launch your application on.
- Click Update... to launch the App Store to update Xcode.
- Click Refresh to update the iOS SDK Home setting if changed.

Managing certificates, provisioning profiles and devices
The iOS settings also includes information about your iOS development certificates, provisioning profiles, and registered devices. It also provides easy access to the Apple Developer Center where you actually create your new certificates, provision profiles and register devices.
The Certificates section displays a list of your current certificates.

- To get a new Intermediate Certificate, click Get Certificate... to open the Apple Developer Center.
- Click Refresh to update the list of certificates if they have changed.
- To get a new developer certificate, click Get New... to open the Apple Developer Center in your browser.
The Provisioning Profiles section displays a list of provisioning profiles for your development team or organization.

- Click Refresh to update the list.
- Click Browse... to import a new provisioning profile from your system.
- Click Get New... to open the Apple Developer Center in your browser.
The Devices section lets you register a device for development. Click Register Devices... to open the Apple Deveoper

Troubleshooting
If you are having problems with any of the above steps, please see our Installation Troubleshooting guide, or otherwise, seek assistance in either our Q&A or one of our other help channels.
Next steps - verifying Studio
Now that the setup is complete, verify that Studio is configured correctly by importing sample applications and creating new ones as described in Alloy Samples or Example Applications.