Overview
This guide walks through the steps of installing and configuring Studio and third-party SDKs and tools required to develop native mobile applications with Studio. If you prefer to use your own editor or IDE, you can integrate the Titanium command-line tools into your environment (see Setting up the Titanium CLI for instructions).
Prerequisites
- Operating System: A recent version of Windows or Mac OS X
- Memory: 8 GB RAM minimum system memory (2 GB RAM available memory). 16 GB RAM recommended.
- Java Runtime: Oracle JDK (no other brand of Java is suitable)
- Node.js: Required for the Titanium command-line tools like the CLI, Alloy and AMPLIFY Runtime Services
For more details, please refer to Prerequisites document.
For a complete list of compatibility of system environments, dependencies, and other requirements, please review Titanium Compatibility Matrix document.
Download and install Studio
To download Studio you must have an AMPLIFY Appcelerator Services account. Visit our Sign Up page to create an account.
- Log in to https://platform.axway.com/.
- Expand the Axway menu
 available at top-left of screen and click on App Builder Studio.
- Download the installer or ZIP file for your operating system.
- Launch the downloaded installer.
For detailed install instructions, see Axway Appcelerator Studio Getting Started.
First Launch
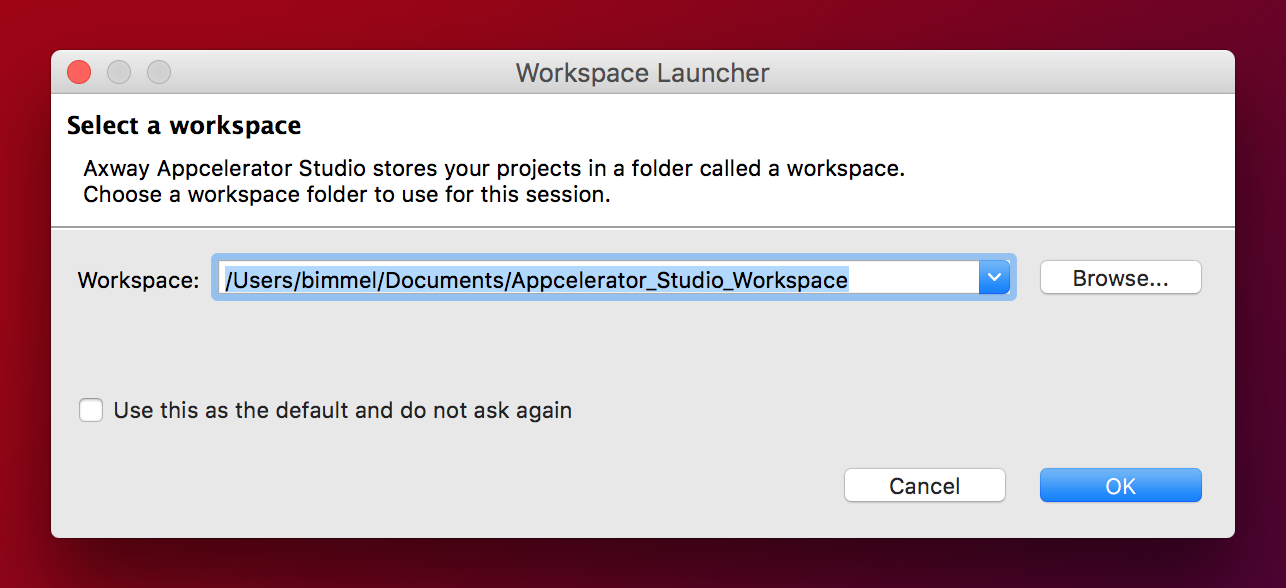
The first time you launch Studio you need to select a workspace, or folder where Titanium stores your project files and IDE preferences.
On the Studio launch screen, enter your AMPLIFY Appcelerator Services account credentials and click Login. Studio remembers your login credentials until you sign out of Studio.
Installing the platform SDKs
To develop native applications with Titanium you need the SDKs and tools for those native platforms installed on your system. For example, to develop Android applications you need the Android SDK and toolchain installed.
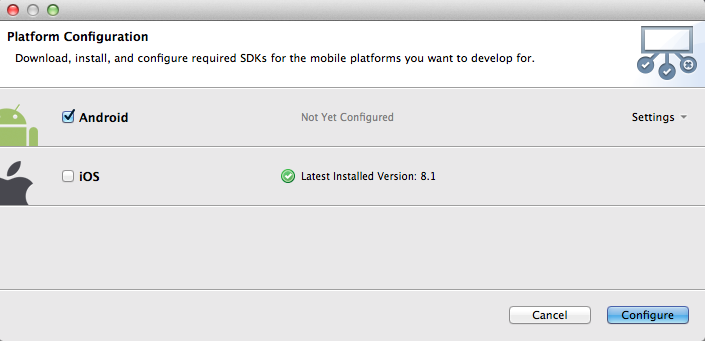
The first time you launch Studio the Platform Configuration dialog opens. This dialog indicates which platform SDKs are installed and which are not, and lets you easily install individual SDKs. In the following screenshot, the system has none of the native SDKs installed.
To install the platform SDKs:
- Select the platforms you want to install.
- Optionally click Settings next to each platform to customize the installation configuration. For more details, see Installing Platform SDKs.
- Click Configure to start the installation process.
Studio begins downloading and installing each SDK you selected, according to the settings you specified. In the case of iOS, Studio launches the App Store application installed on your Mac to the XCode download page.
Checking for Studio and SDK updates
When Studio launches for the first time, it automatically downloads and installs the latest Titanium SDKs and additional command-line tools. Once complete, confirm that no further updates are pending and that Studio is at the latest version.
From the menu bar, select Help > Check for Axway Appcelerator Updates to verify that all the official Titanium components are installed and repeat this step until there are no more updates available.
First Titanium app
To create your first Titanium app, please review Hello Titanium App Tutorial.
Troubleshooting
If you are experiencing problems after following these setup instructions, please follow the more detailed Setting up Studio guide.
Next steps
You can learn more about Titanium by opening the Studio Dashboard, then
- Watching the Appcelerator University videos
- Follow Creating Your First Titanium App to build your first Alloy application