
This page describes how to set your HTML preview preferences.
Contents |
Introduction
As of Aptana Studio 1.1, you can set your preview settings for each project to specify which preview tabs you'd like to see, specify a document root for a project other than the project root, and a specify default server or run configuration.
Instructions
The following sections describe how to access and change your HTML preview preferences.
Accessing your HTML preview preferences
You can either access your overall workspace HTML preferences or your preferences for a project.
To access your HTML preview preferences for your workspace:
- From the Window menu, select Preferences... to open a Preferences window.
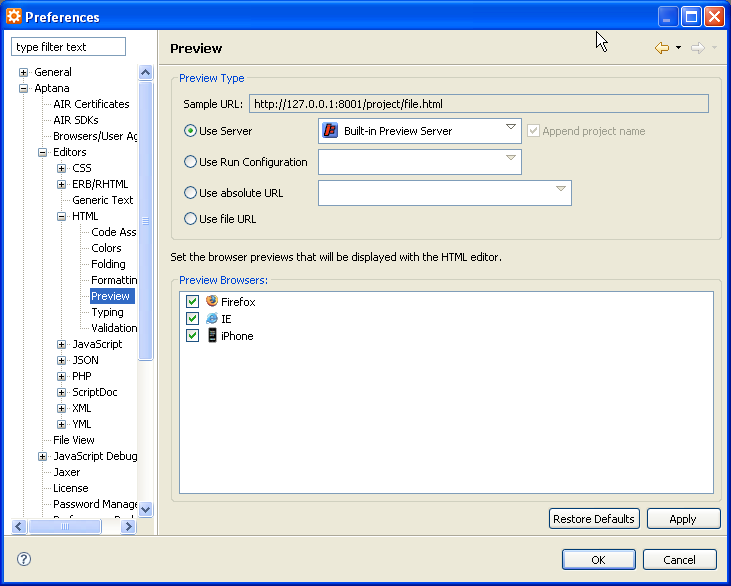
- In the tree on the left side of the Preferences window, navigate to Aptana > Editors > HTML > Preview
Aptana displays the HTML preview preferences screen (shown below).
To access your preview preferences for a specific project:
- In the Project View, right click the project and select Properties from the context menu to open a Properties window.
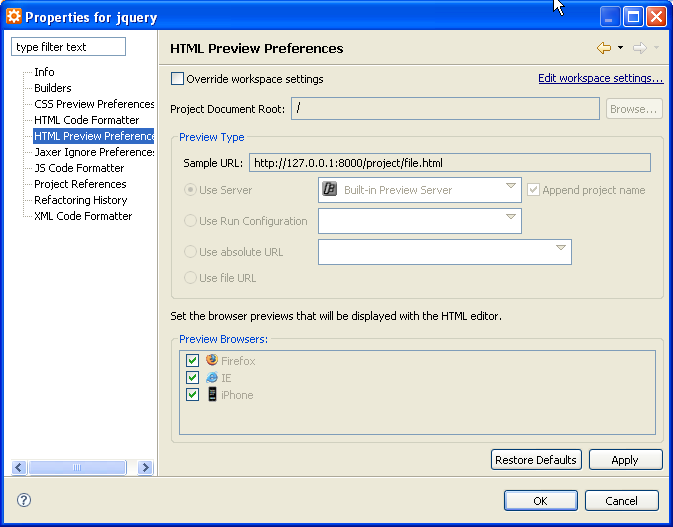
- On the tab on the left of the Properties window, select HTML Preview Preferences to go to the HTML Preview Preferences screen (shown below).
Note: To make changes to these settings, check the Override workspace settings box to enable the fields described in the following sections.
Changing the project root for preview
To change the Project root for previewing your project:
- Access the preview preferences for your project (as described above).
- In the Project Document Root field, type the root for your project.
- Click OK to apply and save your changes.
Changing the browser preview tabs
To change the browser preview tabs that are displayed at the bottom of the HTML Editor:
- Navigate to your HTML preview preferences as described above.
Note: If you go to your preferences for a specific project, the changes that you make will apply only to that project.
- In the Preview Browsers section, check the boxes next to any browsers that you want to display preview tabs at the bottom of the HTML editor.
- Click OK to apply and save your changes.
Note: You can disable HTML preview by unchecking the boxes next to all of the available browsers.
Specifying a default server or run configuration
- Navigate to your HTML preview preferences as described above.
Note: If you go to your preferences for a specific project, the changes that you make will apply only to that project.
- In the Preview Type section, choose one of the following options:
- Use server - Specify a different server. (Use the drop-down list and select Add new server... to add a server to the menu.)
- Use Run Configuration - Use a saved, pre-existing run configuration (or use the drop-down list to add a new run configuration).
- Use absolute URL - Specify an absolute URL.
- Use file URL - Use the file URL.
- Click OK to apply and save your changes.