| Sequence | Completed task to configure and enable an IdP | ||
|---|---|---|---|
| 1 |
- |
✓ - |
Add a domain and |
|
- |
|||
| Step 1 tasks (add and verify a domain, or configure an IdP) can be completed in any order | |||
| 2 |
-
|
Confirm the association of your IdP to the domain | |
| 3 |
- |
||
| 4 |
- |
(Optional) Add a subdomain |
|
At least one email domain used by the Identity Provider must be added to the org, and domain ownership must be confirmed by a TXT record set on the domain's DNS that matches one that is displayed in the AMPLIFY Platform.
To add a domain
- From the Identity Provider page, click the Actions (...) menu, and then select Add Domain.

The Add Domain modal dialog appears.
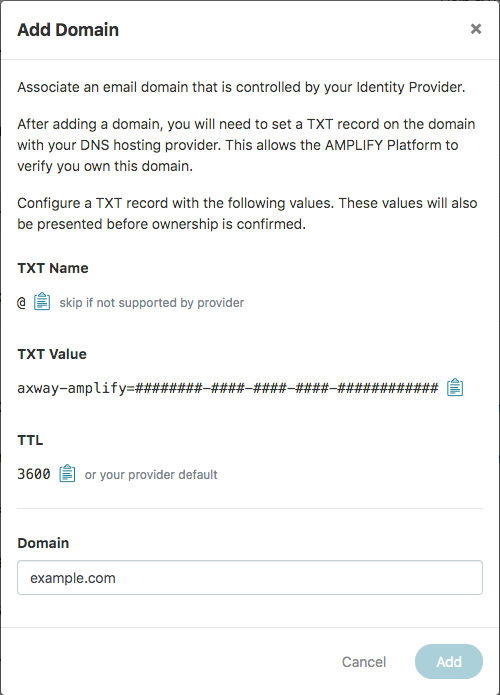
- Using the TXT Name (if supported by the IdP provider), TXT Value, and TTL values displayed, configure a TXT record with your DNS provider for the domain being added.
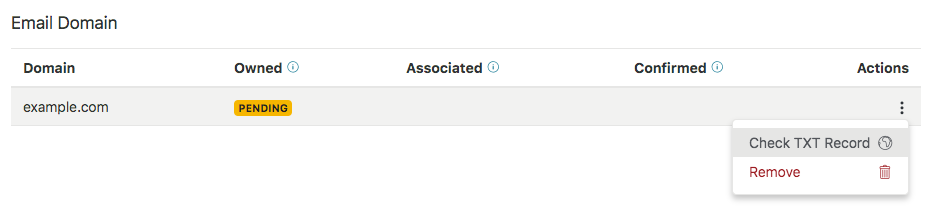
- Enter the domain in the modal, and then click Add. After adding the domain, it will appear in the Email Domain table
as Pending in the Owned column.