
This page describes how to configure the Adobe AIR runtime for use with the Aptana IDE.
Introduction
Before you can configure the Aptana IDE to work with AIR, you will need to download and install the AIR SDK from Adobe:
http://www.adobe.com/go/getairsdk/
After installing the AIR SDK, you will need to configure your preferences for AIR, as described in the instructions below.
Instructions
To configure Aptana to work with AIR:
- From the Window menu in Aptana, select Preferences... to open a Preferences window.
- On the tree on the left side of the Preferences window, expand Aptana and select AIR SDKs to go to the AIR SDKs screen.
- Add the AIR SDK:
- On the AIR SDKs screen, click the Add... button to open an Add AIR SDK pop-up window.
- In the AIR SDK Directory field, browse to the top-level directory where your AIR SDK is installed.
- In the AIR SDK Name field, type a name for your SDK (example shown below).
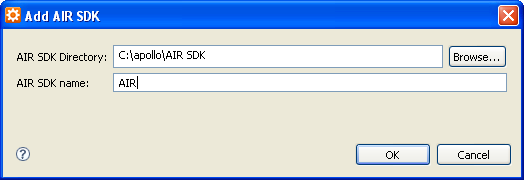
- Click the OK button to add the SDK.
Aptana adds the SDK. Your AIR SDKs preferences screen should look similar to the example below.
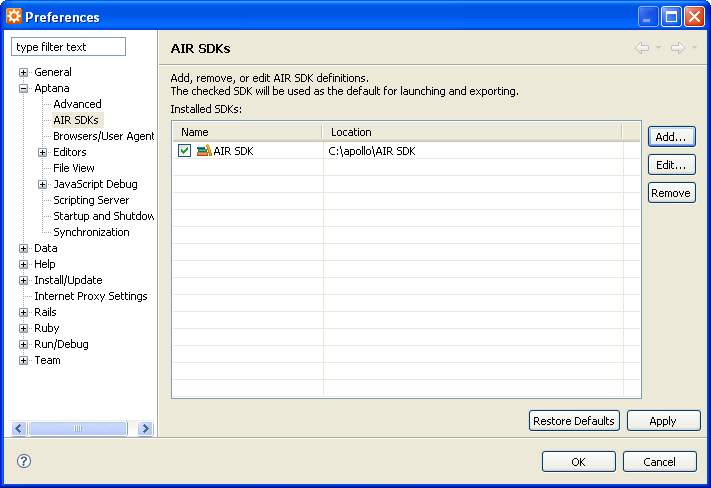
- Click OK.
Aptana adds the SDK to your preferences. You can now start creating AIR projects.